the Artful Oven
  • Home
  • Rose's Alpha Bakers
  • Bread Bible Alpha Bakers Bake Along

Alpha Bakers Chapter 8: Gingersnaps

1/25/2015

13 Comments

 
PictureSmitty holding a koala during a visit to Cairns, Australia. He said the koala didn't particularly like being held, and smelled strongly of eucalyptus!
First of all, dear reader, it's time you met Smitty.  He is my husband, my soul mate, my taste tester, and my deus ex machina--"god of the machine."  Smitty is the kind of creative genius who can fix just about anything, trouble shoot problems of all kinds, and find solutions to almost every pickle I find myself in.  Plus, he's very handsome, and lots of fun to be around!

This week's baking adventure was billed as "quick and easy," with a yield of 32 cookies.  "Thirty two?"  I muttered to myself.  "That's not nearly enough!  Those will be gone in about 15 minutes!"  

One of the joys of baking is how it allows me to connect with people.   I have met so many interesting new friends while handing out freshly baked goodies!  

Therefore, I would definitely have to double this recipe.  But why stop there? Why not QUADRUPLE the recipe?!   What a great idea!  


(I can ALWAYS think of ways to complicate my own life.)

Picture
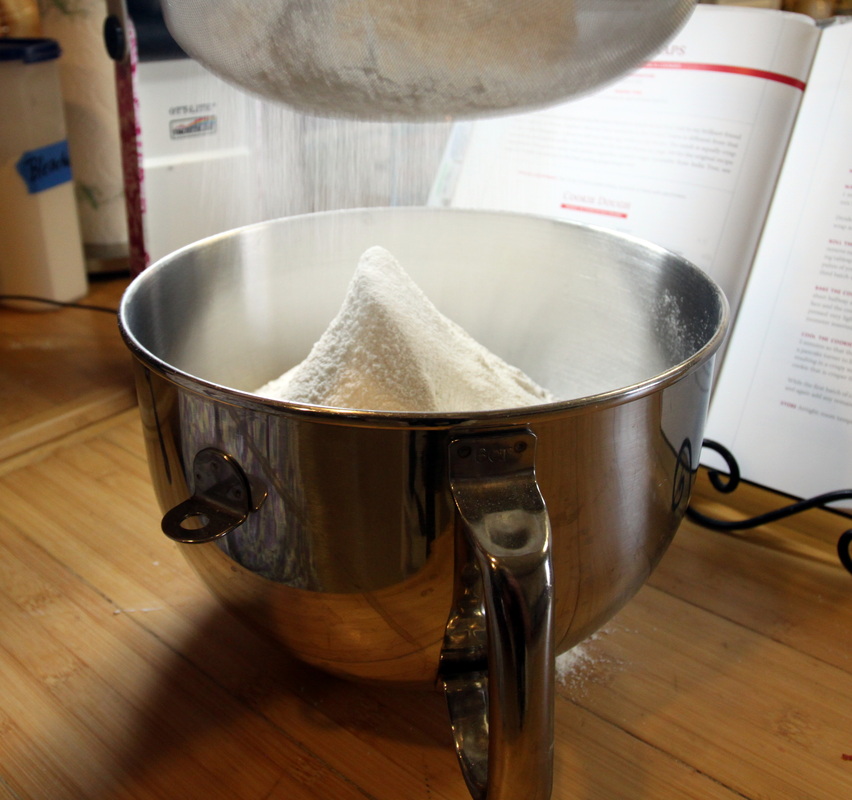
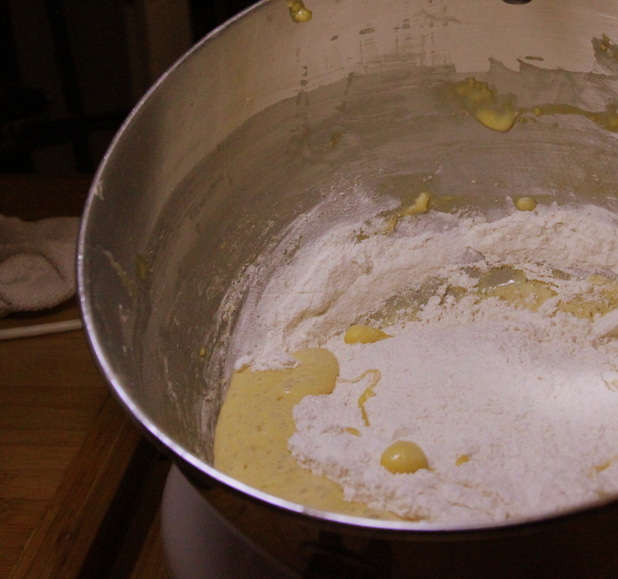
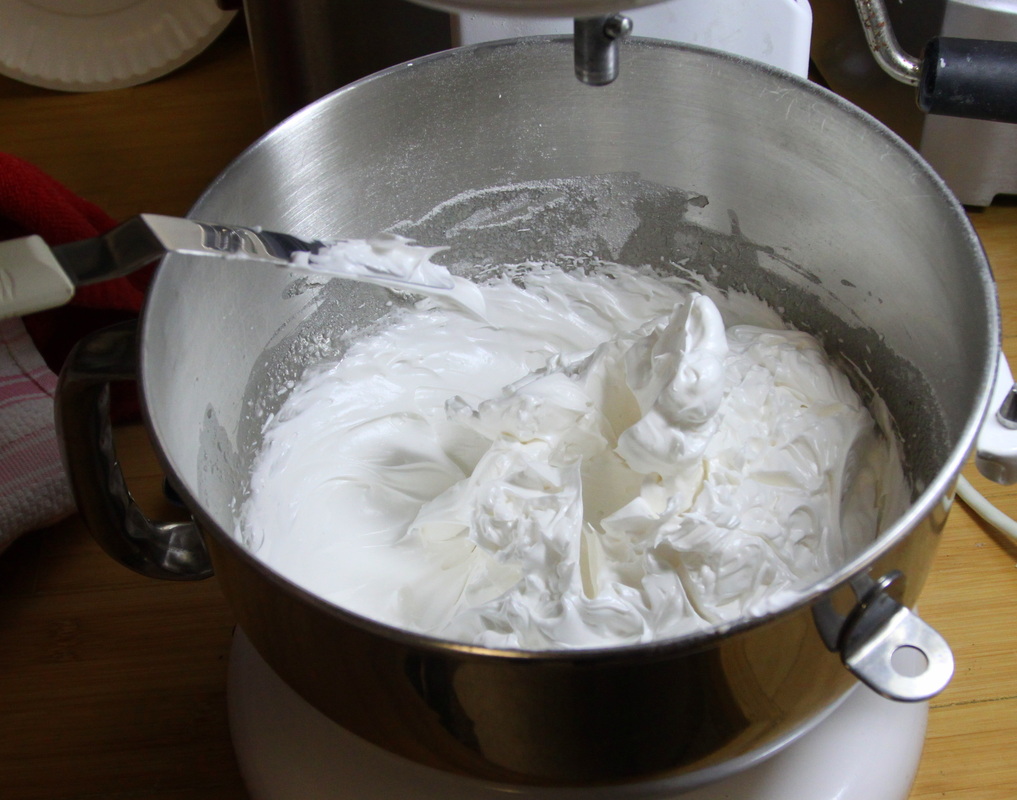
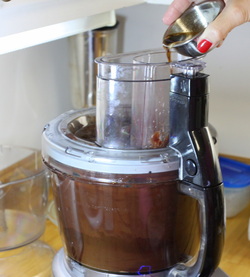
Sifting the dry ingredients into my 6-quart Kitchenaid mixer bowl. The quadruple quantities added up to a mound of Himalayan proportions.
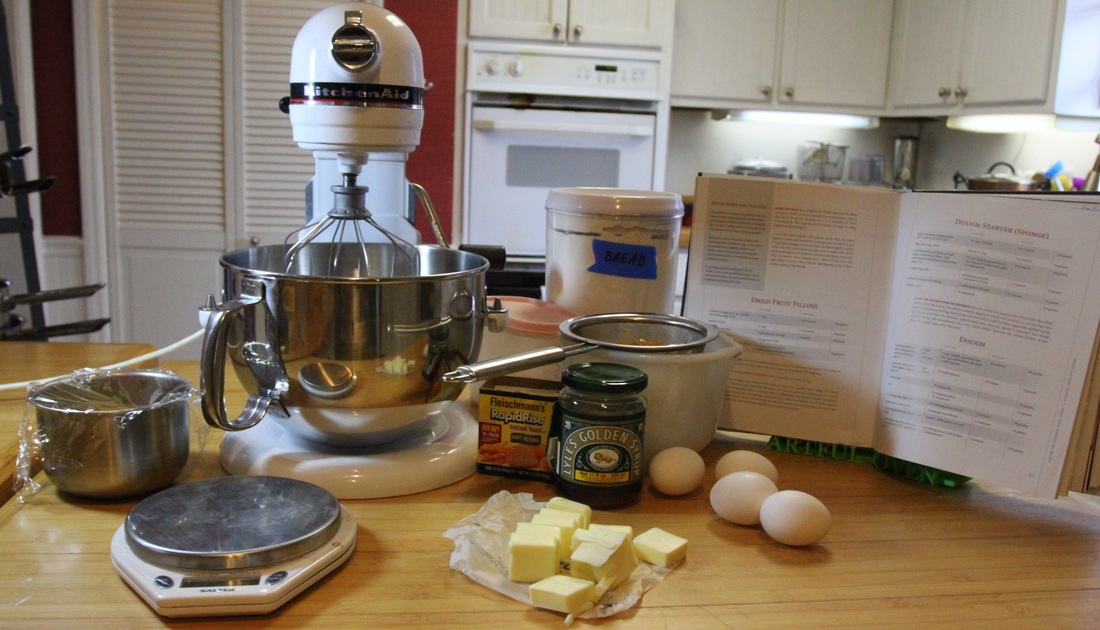
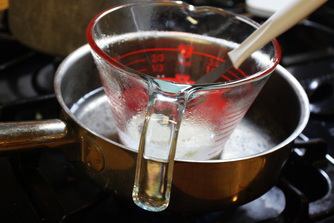
Dear reader, if you haven't tried Lyle's Golden Syrup, do give it a try!  Rose uses it in many of her recipes--notably her pecan pie.  


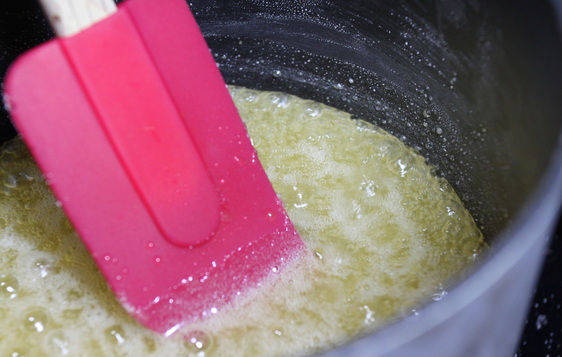
For the gingersnaps, the butter is gently melted with golden syrup....oh no!  I don't have enough golden syrup for my quadruple batch?  A run to the store revealed that my local grocer has stopped carrying this fantastic ingredient. Gulp.  I had to substitute the missing amount with light corn syrup.  Fortunately, Rose had provided for that; corn syrup was the alternate ingredient in the recipe. 


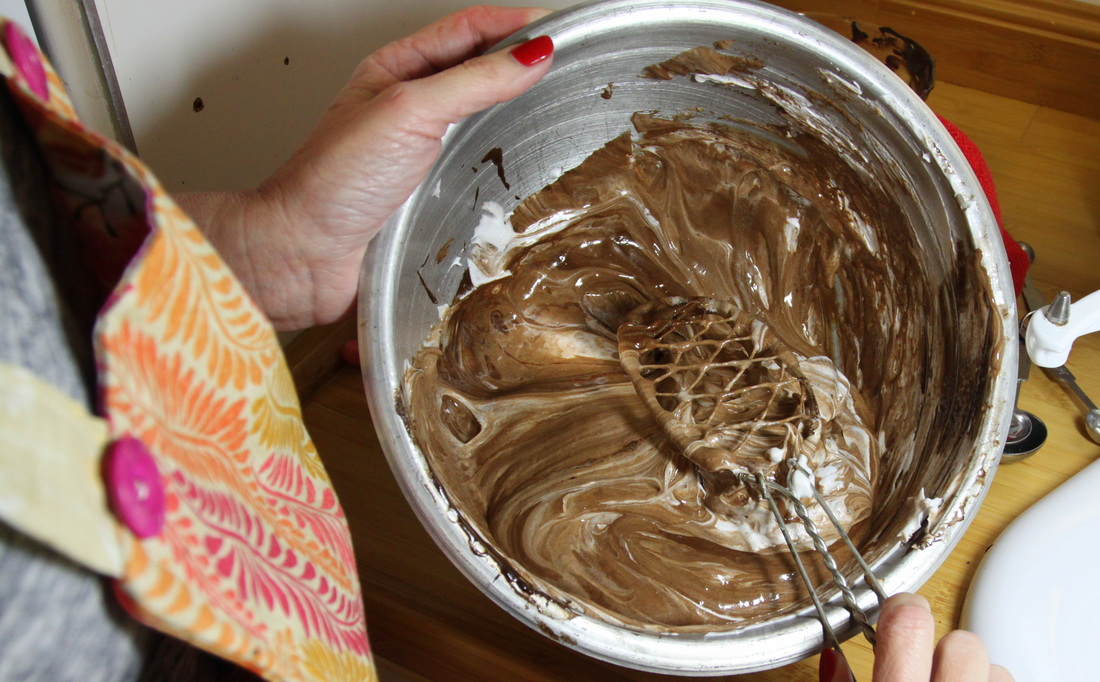
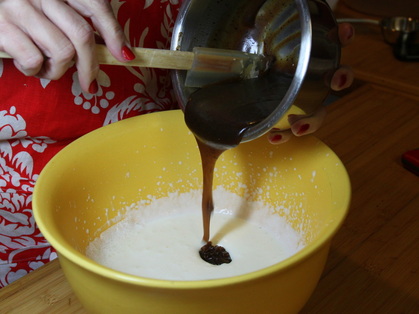
The syrup-butter mixture is added to the dry ingredients bowl.  It was a large batch, of course, but well within the capacity of my 6 quart bowl.  Suddenly, a loud and horrible CRACK.  Look at what happened:

Picture
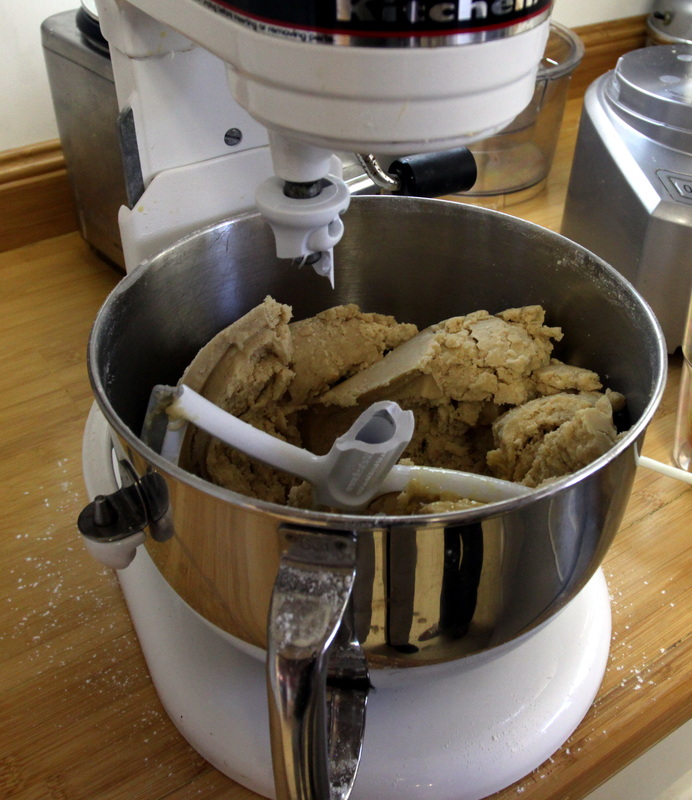
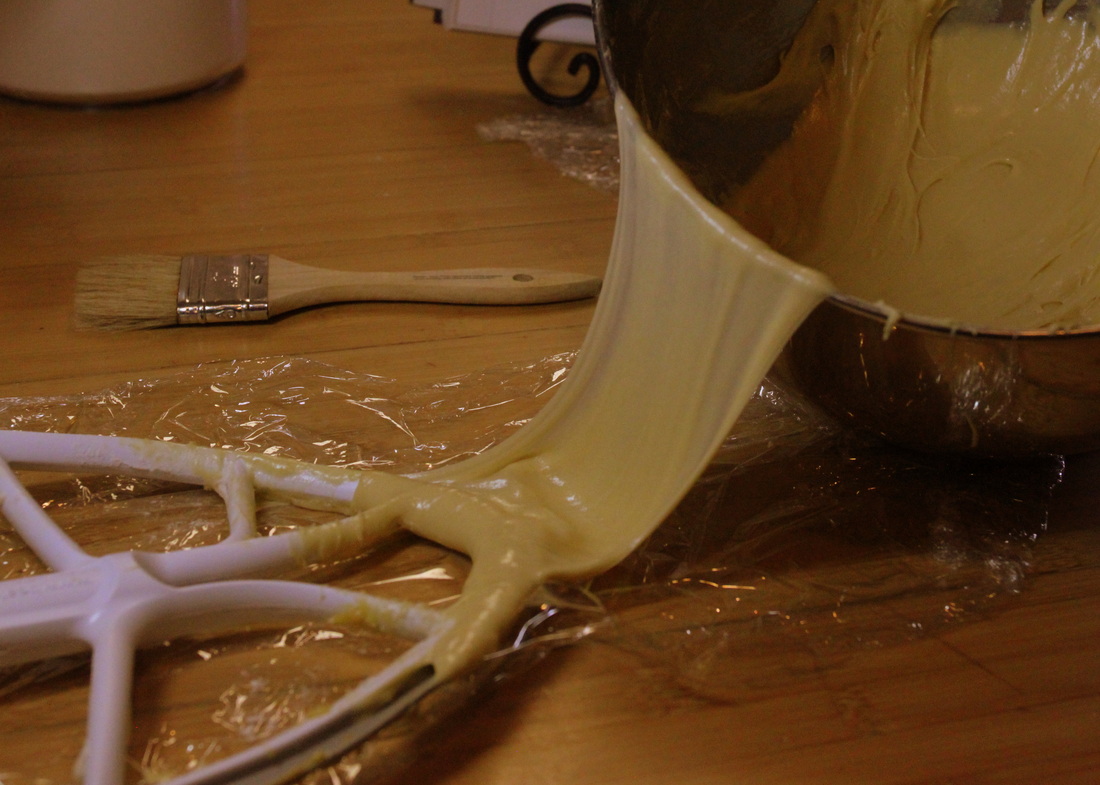
My plastic bowl-scraping beater blade met an untimely end in a oversized batch of gingersnap dough. Now I will have to pause to scrape the bowl and then hand wash the aluminum beater until I get a new one?! How is a spoiled rotten Alpha Baker to deal with such an inconvenience?!
Smitty said I looked like I had seen a ghost.  I was so afraid I had broken the mixer!  I separated the mixture into two bowls, and mixed it up in two batches, then combined it by hand.  I was seized with a sudden fear of damaging my mixer.    


Picture
Right about this point, I tasted the "dough." Hmm...not very sweet. I know that Rose commented in her recipe notes that she had reduced the sugar by 60 percent. Wait a minute....did I even add the sugar?!
FULL STOP.  I had forgotten to add the sugar!  Rebooted the mixing with a combination of three parts India Tree castor sugar and one part light brown sugar.  The recipe called for golden baker's sugar.   I was never able to find that product, so I used Rose's alternative, the castor sugar and brown sugar mixture.  


Picture
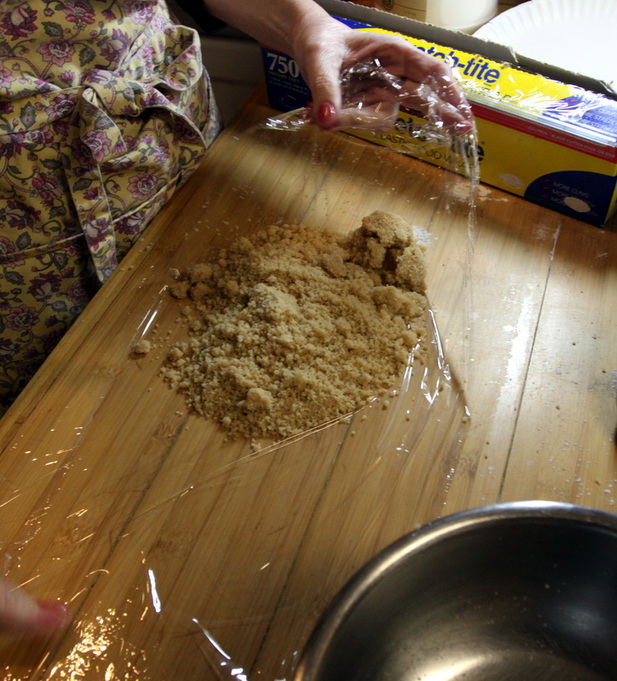
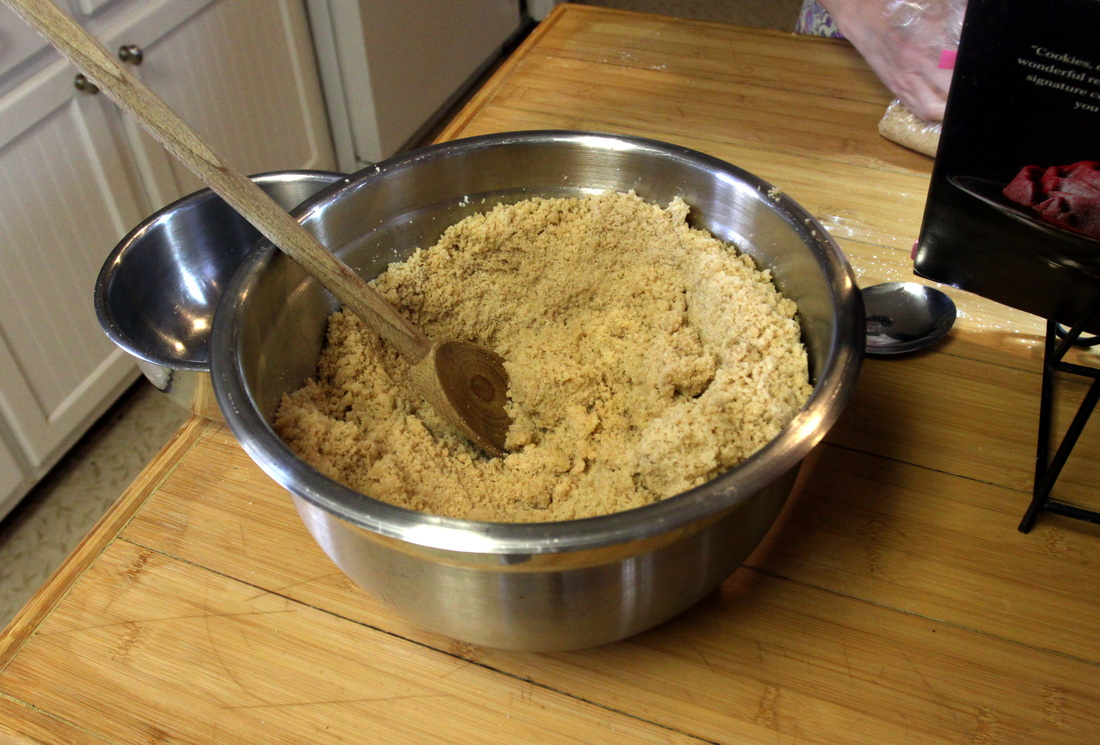
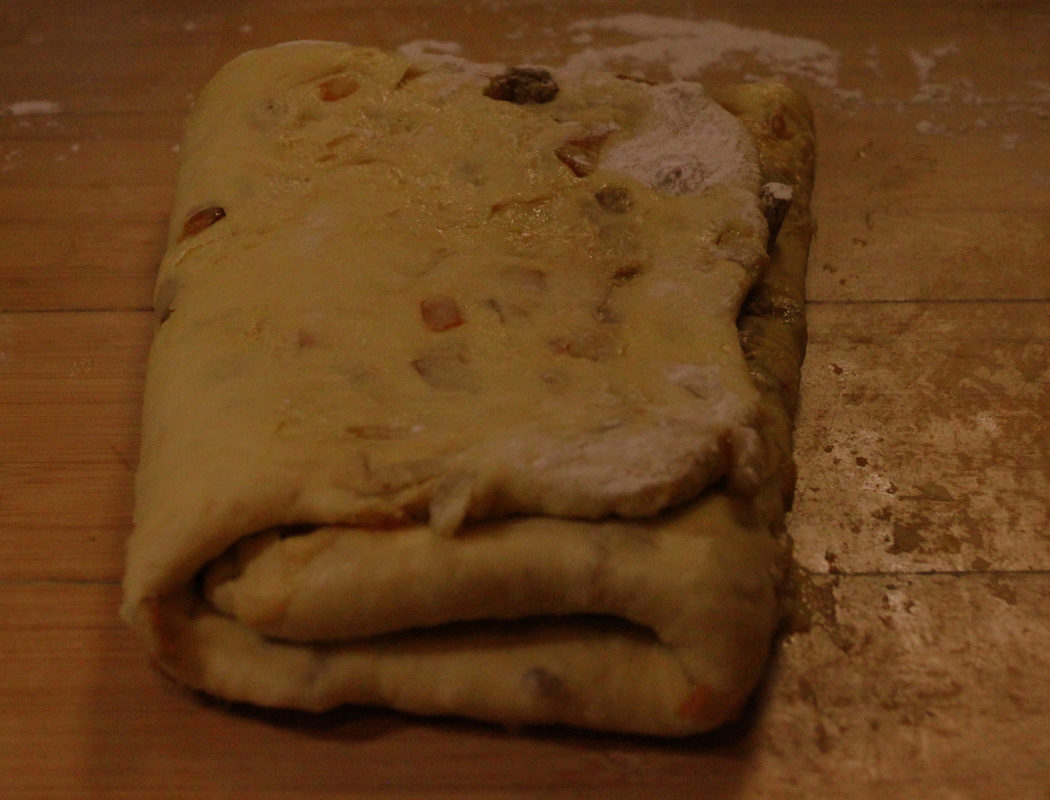
This dough seemed very crumbly, but perhaps that's because I made such an outsized batch. I weighed portions and wrapped them in plastic wrap to be refrigerated.
Picture
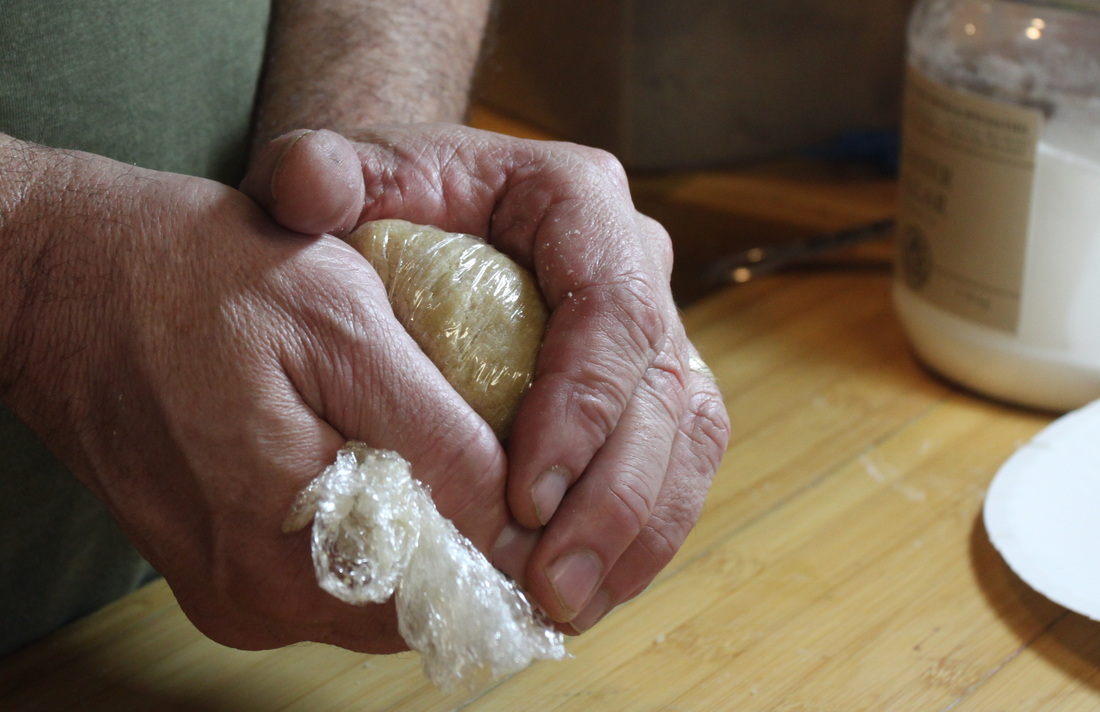
The dough didn't seem to be holding together very well. Smitty's hands are stronger than mine, so he was pressed into service to make up the little dough packages the size of baseballs.
Picture
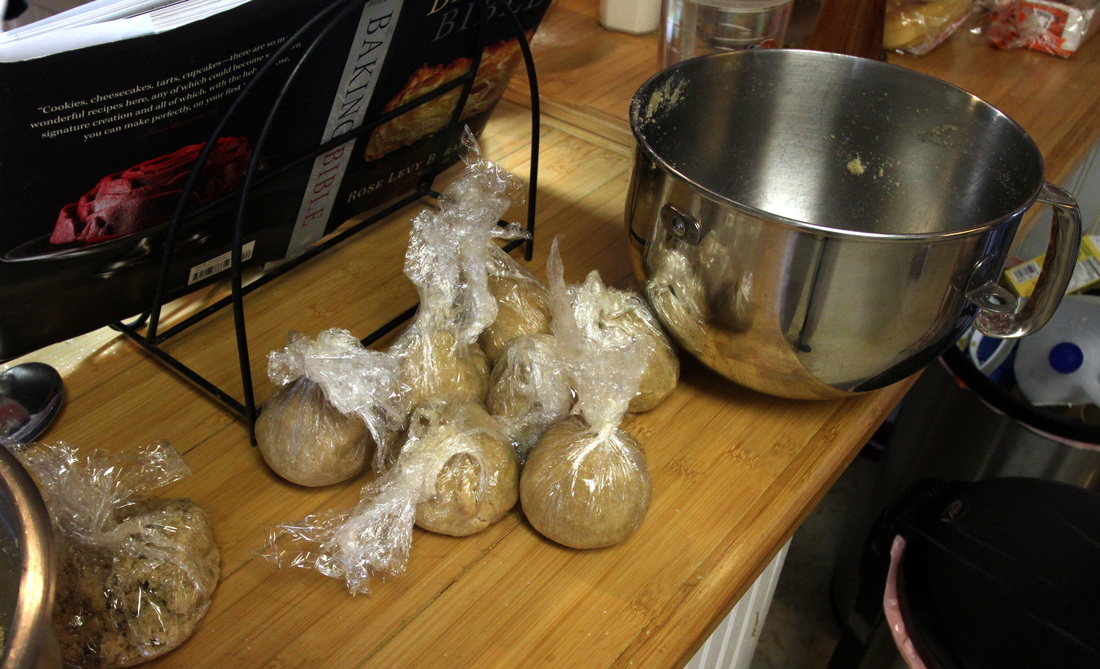
Some of Smitty's little dough baseballs ready for the fridge. A quadruple batch made MANY of these little packages.
Finally, all of the dough was portioned out and tucked in for its chilly little rest before baking.  I was tidying up the kitchen and noticed a bowl....full of beaten eggs and extra egg whites that had never been added to the dough!!  I had been on the point of adding the eggs when the mixer paddle had broken.  I never got back to it!  NO WONDER the "dough" was crumbly and didn't hold together!  


Wailing and gnashing of teeth ensued.  "Why, Smitty?!  Why did you marry such a stupid woman?!"  I have asked him this many times over the last 30 years.  His answer-- "You weren't that stupid when I married you..."  (Yes, dear reader, he is still breathing.  I can tell when he is teasing me.)  

The dough baseballs were crumbled back into two bowls and the eggs were added, some to each bowl.  Because I needed to combine the contents of two bowls evenly into one big batch, I made a discovery--


USE YOUR DOUGH HOOK to easily mix the contents of two bowls together.  It works like a charm and made quick work of it.  


Without the eggs, it would have been a huge batch of ginger-flavored shortbread, although now that I think about it that wouldn't have been a bad thing!
By this time, I had been in the kitchen for about three hours making this "quick and easy" recipe. No weighing the dough packages this time--just sloppy blobs of dough hastily plunked on pieces of plastic wrap and tossed into the fridge.

Picture
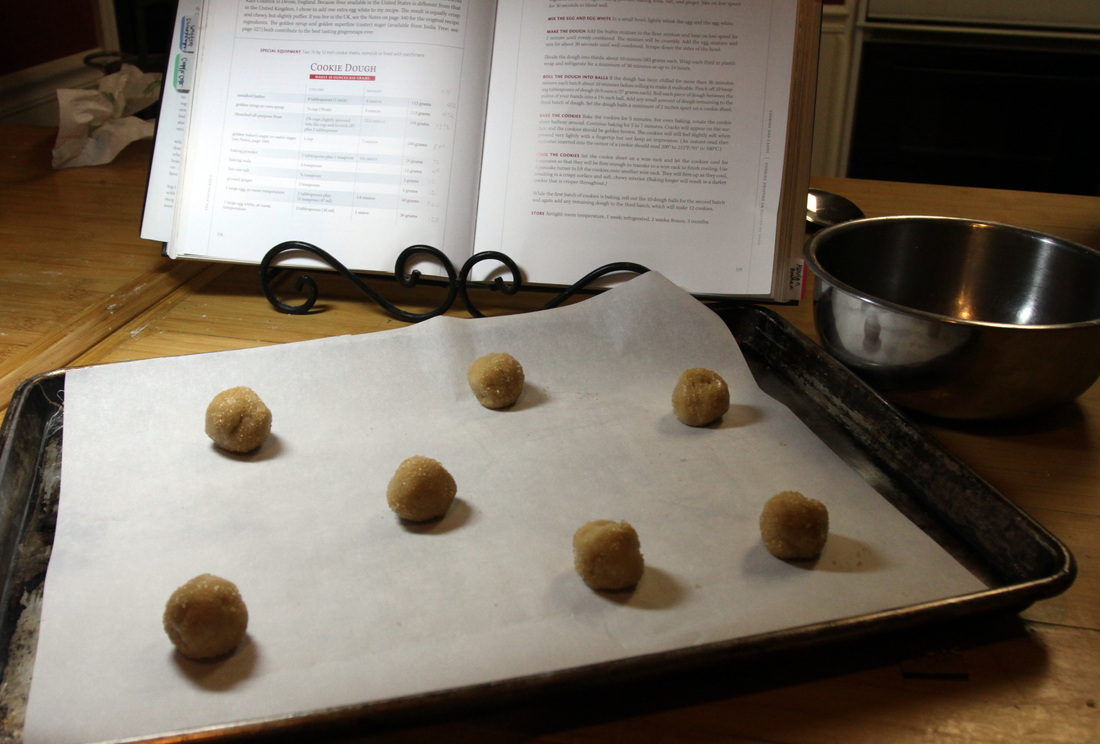
Ready to bake--FINALLY!
I did make one small change to the recipe.  I rolled the balls very lightly in a tiny bit of turbinado sugar for a little bit of sparkle and crunch.  

Picture
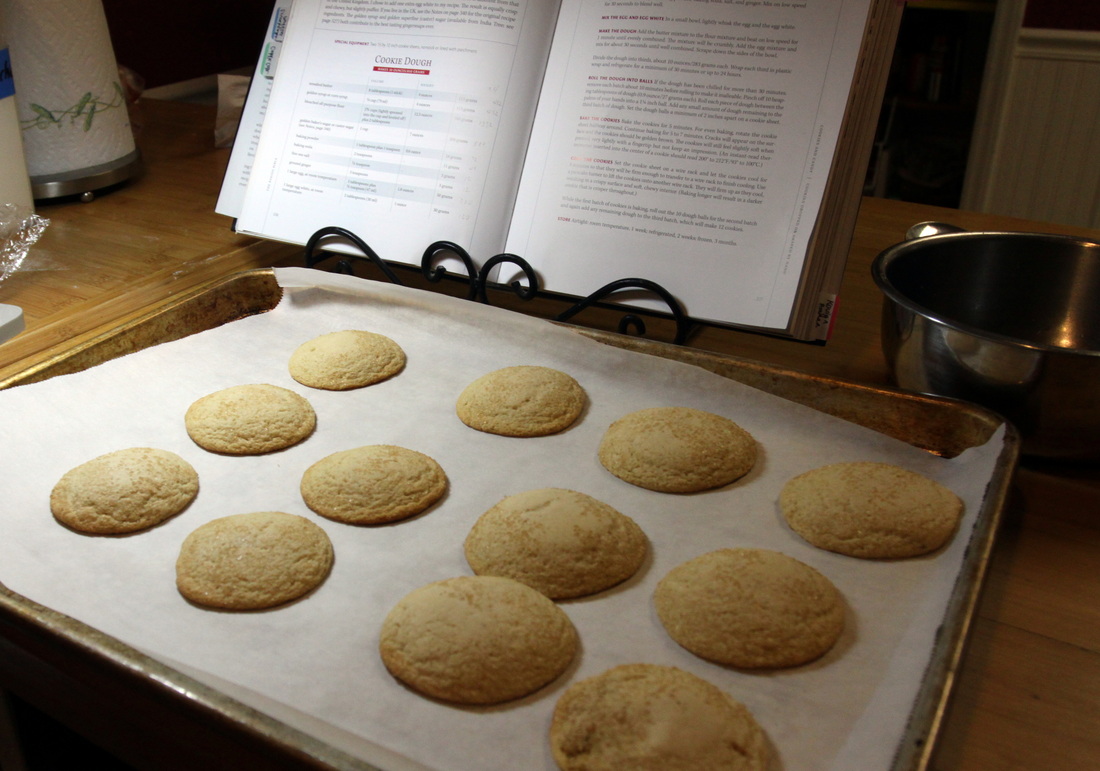
Straight from the oven, the cookies are puffy, but they flatten out on cooling.
If you don't multiply it, forget to add key ingredients or break essential kitchen appliances, it's an easy recipe!  


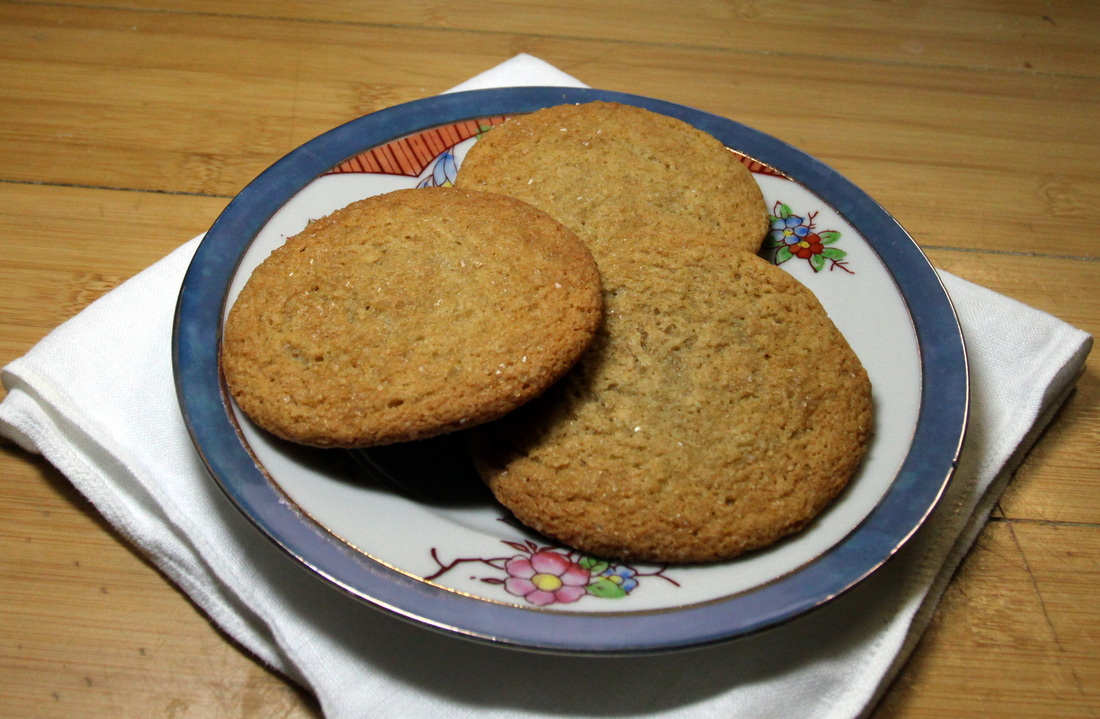
These really are delicious cookies.  Good thing I made more than 32--Smitty and I have already polished off 10 of them in the past couple of hours!  Our nest is empty--we don't have to worry about being bad influences on our children anymore.  

I might like a bit more ginger in them next time, as we found them almost too mild, despite using a new jar of fresh ground ginger.  I will be delivering them tomorrow to several tasters for their feedback.  Thanks, Rose, for another great recipe!
Picture
UPDATE: All of Rose's recipes list ingredient amounts in volume and in weight.  The Alpha Bakers' coordinator noticed that the volume measurement of ginger in the recipe is far higher than the weight measurement.  She contacted Woody Wolston, Rose's collaborator--he said, "that's a mistake."  I haven't baked Rose's recipes by volume in years, because weighing is so much faster and more accurate.  That explains why the cookies have such a subtle ginger flavor.  I used half as much as Rose intended!   
13 Comments

Golden Orange Panettone by Michele Alfano Simons

1/20/2015

10 Comments

 
Picture
Grandma Grace, from Terrasini, Sicily.
I inherited my love of great food from both of my parents.  It seems I inherited my love of baking from my beloved grandmother, Grazia Palazzolo Alfano.  

I am the youngest of a dozen cousins and because my family moved across the country when I was little, I didn't spend as much time with her as I would have liked.  

 My cousin Grace, who is named for our grandmother, describes Grandma's lemon meringue pie as a thing of beauty!  My brother Sam didn't care for her anise cookies when he was a little boy, but cousin Patricia remembers fig cookies and sesame cookies and a tower of sweet dough balls covered with honey and colored sprinkles every Christmas.  

I don't know if Grandma ever baked panettone, but I know she would have loved this recipe. This blog post is in her honor and in her memory.  
PictureNavel oranges from FLORIDA--I grew up in Fort Lauderdale.
This is such an elaborate recipe, it took me a week to bake it.  I was planning to order the candied orange peel, but it seemed like a big expense for a seldom used ingredient....so I made my own.

It was a perfect time of year for this project, oranges are so fresh and plentiful.  Once removed from the sugar syrup, the peel is tossed in a little sugar and then set aside to dry for two days.   The candied orange peel is an addictive confection on its own!  Fortunately, I made plenty of it!


Picture
The power tools and some of the raw materials: butter, Lyle's Golden Syrup, eggs, yeast, flour...and the invaluable Baking Bible by Rose Levy Beranbaum
PictureGolden raisins and the candied peel are macerated in a mixture of Triple Sec, vanilla and pure orange oil. The liquid is reserved and added to the dough.
This is another one of those recipes that aren't really difficult, just time consuming. Fortunately, the schedule wasn't as unforgiving as others we have encountered.  The dough begins with a biga (starter) that takes three days to develop.  After that, the dough is mixed, followed by an itinerary of rising, folding in the dried fruits, refrigeration, folding, rising, refrigerating again, shaping, rising and finally baking the panettone.  This is only a rough summary of the process--for the full recipe and instructions, I urge you to purchase your own copy of the Baking Bible--you won't regret it!   

PictureThe biga, egg, golden syrup and yeast mixture is bubbling up from beneath the "flour blanket," as Rose calls it." Now the dough is ready to be mixed.

Picture
Rose describes this step--"The dough will be very soft and ELASTIC." I took this photo to illustrate how very elastic it was!!
Picture
The fruit is kneaded in before the first rise, and the dough is given a "business letter turn." This means that it is rolled or patted into a rectangle and then folded into thirds like a business letter.
Of course, paper panettone molds were in abundance all over town at Christmas time, but because I've never made panettone before I didn't purchase them!  Now they are not to be found!  I improvised with parchment paper and a six inch cake pan with instructions I found online. 

Picture
Parchment paper strips connect the collar to create a "mold" the correct size for the panettone. The whole apparatus is tucked into a six inch cake pan for support, and when it emerges from the oven, it no longer needs the cake pan.
I was very nervous about this maneuver!  Sharp scissors are dipped in water and then into the dough to create a cross-shaped opening on top of the loaf.  The dough was so light and tender that I was afraid I would deflate it.  Consequently, I didn't snip deeply enough and got a very wimpy cross shape in the finished panettone!   At least, I think that's why.
Picture
Yikes! I was so afraid this beautiful, fluffy dough would collapse! Perhaps it wasn't as fragile as it seemed.
Because I was going on vacation, I carefully froze the panettone as soon as it was cool.  When I got home, I defrosted it and made the Chocolate Drizzle Glaze.  
PictureHot out of the oven! The paper is falling away, and the cross on top is unimpressive, but the aroma is heavenly!
I made a batch and a half of the Drizzle Glaze because I knew that I was going to share this around with a few taste testers and that some would inevitably be lost in the transfer to various plastic bags. 

Picture
For ease in melting, I used Ghirardelli's bittersweet chocolate chips.
PictureThe slices show the raisins and orange peel. Next time I will add extra fruit.
The Drizzle Glaze is served over toasted slices of Golden Orange Panettone...delicious!  The defrosted bread is a bit heavier than it was fresh from the oven, but then again, it was supposed to "mellow" overnight anyway, so I'm not sure would have been much different if we had eaten it immediately.  However, it is so delicious when toasted, I can hardly complain! 

This is a wonderful treat, but I will save it for holiday baking.  This is the first time I have ever made panettone, so glad Rose has provided us with another great recipe! 

Picture
Oh joy! Is it breakfast or dessert? Yes and yes. We love this lightly sweet Golden Orange Panettone.

NEXT WEEK: Gingersnaps

10 Comments

Chocolate Cuddle Cake:  A birthday cake in 5 acts!

1/2/2015

26 Comments

 
Picture

Overture

My friend and neighbor, Penny, gave me the opportunity to bake a birthday cake for her daughter Katelyn's 21st birthday.  Katelyn, who is everything one would want in a young daughter, loves chocolate, so I baked the Chocolate Cuddle Cake in her honor.    

I baked two Cuddle Cakes--a standard cake for Katelyn's celebration, and a half-size recipe for my husband and I to enjoy.  I wanted plenty of the ganache and the whipped cream topping to work with, so I made double batch of each of those recipes.  

This was not a difficult recipe, but it was rather involved, hence the "Five Acts."


ACT ONE: The Cake


PictureSTIFF PEAKS!
The Cuddle Cake is a straightforward sponge-type cake, in which the egg whites are whipped furiously into a stiff meringue, and then folded gently into the rest of the batter.
  
Before I continue this narrative, let me comment on how hilariously preposterous I sound to myself, like such a baking authority, "a straightforward sponge-type cake..."  I'm no expert! After baking with Rose's books since 1989, I  just have a lot of experience following her recipes.  So, laugh along with me, and if I start taking myself too seriously, PLEASE, somebody--jerk a knot in my tail, will ya?!

This summer my husband Smitty and I went to part of "The World's Longest Yard Sale" in Crossville, TN.  What an experience!  I was thrilled to find an antique angel food cake folder--pictured in a line drawing in the "Equipment" section in the back of the Cake Bible (p.458).  You can see it put to good use in this next photo.  It really won't deflate meringue, I love it!  Keep your eye out for one at antique shops, it is a great find!


PictureBy the way, this is the other side of my reversible new apron, handmade by daughter Jessica! What a great Christmas gift! (See the other side on last week's post about the frozen pecan pie!) I have to get a good shot of the whole apron--soon!

I improvised a bake-even strip the old fashioned way.  I folded wet paper towels inside a pocket of aluminum foil and fastened it with paper clips.  It was easier than dealing with my old Wilton strips that have to pinned--especially for the second half-size cake baked in a six-inch springform pan.

Picture
Picture
The springform pan is prepared with a strip of parchment paper around the inside.  Once the batter is scraped into the pan, a metal flower nail is sunk into the center of the pan to serve as a heating core.  Fortunately, I had two flower nails.  I didn't know if it would be necessary to use one for a six-inch pan (for my half-size cake), but I did it anyway.
Picture


Unmolding the cake was easy.  The parchment liner slipped off without the need for the damp towel treatment.  


One note here--the telltale cracks at the center of the cake were very small.  I was watching it carefully, (one might even say with extreme paranoia) per the instructions.  Because it was a birthday cake for a friend, I was particularly anxious to get it right! 

ACT TWO: The Ganache

Picture
This component is so simple that it is certain to become a frequent addition to my repertoire.  (Uh oh, sounding uppity again...)  


Picture
Vanilla and Kaluha are added to the molten chocolate mixture in the food processor.  Unlike some of my fellow Alpha Bakers, I am deeply attached to my Cuisinart!

Cooling is an essential part of this process.  When I read the recipe, "make the ganache at least three hours in advance," I took that to mean that it would be ready in three hours.  However, I found that it took closer to four hours to cool to spreading consistency.  Fortunately, on page 521 of the Baking Bible, Rose notes that ganache can be beaten with a whisk to thicken it if you need to use it before the cooling time has elapsed.  This worked perfectly!  I didn't notice any change in color at all.  


ACT THREE: The Caramel

Let me pause a moment to wax lyrical on the downright magical collaboration between sugar, butter and Lyle's Golden Syrup.  All nice ingredients on their own, but introduce them to one another in the presence of heat, stir in some scalded cream and they turn into a confection truly greater than the sum of their parts.  


Picture
My readers may recall the blisters I endured when making candied hazelnuts last month.  I was nervous in the face of another hot sugar syrup, but no burns this time!  Finished with a little bit of cocoa powder mixed with water, this is the most heavenly caramel I have ever tasted. 

Cooling is critical to this component as well.  It took about 90 minutes to cool my double batch of caramel.  

ACT FOUR: The Caramel Whipped Cream


PictureUnflavored gelatin is dissolved in a little bit of heavy cream, and warmed in a pan of barely simmering water.
The cake is superb, the ganache delicious, but this caramel whipped cream is by far the best part of this already stellar dessert. 

The cream is stabilized with unflavored gelatin and sweetened with that amazing heavenly caramel.  


Picture
The caramel is added to the softly whipped cream....
Now the photos cease.  We have entered the Dark Times.  (It couldn't have been more than 20 minutes, although it felt like three hours of agony.)
Act 4.1 The Whipped Cream...Deflates

Whisking along as directed, the caramel and cream are becoming a lovely, uniform color...when suddenly, the cream seems to be deflating.  My heart begins sinking with it.  What could I be doing wrong?  I followed the instructions to the letter!  In desperation,  I reach for the hand mixer.  Dear God--is it getting worse?!  I stuff the bowl into the fridge. My blood pressure rises.


ACT 4.2  Mousseline crash and burn


The birthday party is in 90 minutes. I picture a wonderful young woman with a terrible cake because I messed it up!  


Quick change of gears.  I am a Girl Scout, after all.  I turn to my old reliable Cake Bible.  I will make a batch of Rose's foolproof Mousseline Buttercream to use instead of the whipped cream.  I have made that recipe so many times, I'm petrified to even attempt Rose's new sequence (in Rose's Heavenly Cakes) for fear of forever jinxing myself!  

All is going well.  I'm back in The Zone.  Meringue is perfect, butter the right temperature....and then for the first time in 20 years....curdling.  More curdling, even more curdling where there isn't even room for more.  RUINED icing.  Throw-it-out, irretrievably bad icing.  Trying hard not to break down in sobs in the kitchen.  Panic is thick in the room.


ACT 4.3  The Whipped Cream is....Okay After All???

I am an adult.  I face the fact that the cake will be iced completely with the ganache.  Out comes the turntable and the decorating bags.  My husband, Smitty, God bless his dear heart, pulls the bowl out of the fridge and remarks, "Are you sure this won't work?  It looks okay to me."  Lo and behold, a dairy product miracle!!  The cream is extremely soft, but definitely workable.  Heaven and nature begin to sing!   

ACT FIVE: Icing the cake (and the photos continue!)

PictureCake Decorating 101 (Per me, anyway): First I put a lot of icing on the cake....and then I take about half of it back off the cake! Note the green bowl on the left. If you have crumbs in the icing on your spatula, scrape it into a second bowl--NOT back into your main bowl of icing.
First, I used an angled spatula to ice the sides smoothly with a very thin layer of the ganache. 

Then I used my favorite up and down spatula strokes to make an easy vertical pattern on top of that.  If you want to do this, just add about a tablespoon of icing for every two or three vertical strokes.  It won't take you long to get the hang of this. I like this charming, old fashioned look. (Shown a couple of photos down.)  


Remember--the "secret" to icing a cake is to keep the spatula between the icing and the cake.  Never touch the cake with the spatula--only touch the icing.  Not always easy to do, but that's the rule of thumb.  And of course, you can always put two layers of icing on a cake--the first layer is to seal in all of those crumbs--it's called the crumb coat!  Then go back over it a second time and you might be surprised how much easier it is to get a pretty result.  

Picture
Picture

For those who may be interested, here is a low-tech method of dividing a cake evenly for decorating.  


First, ice the top of your cake with a thin coat of icing. Trace your cake pan on a piece of waxed paper or parchment and cut out the circle. 


Fold the circle in half and then in half again, creasing it as many times as you like.  


Picture
Unfold it and stick a toothpick in the center. Center the paper circle on the cake and gently set it down.  Use a toothpick to make little marks in the icing either on top or on the sides all the way around where the folds are, and you will have equally spaced divisions for decorating your cake.

I took one extra step and used a piece of uncooked spaghetti to mark lines from the center to the edges of the cake to create "wedges."


I used the whipped cream and decorating tip 86 (my favorite!) to pipe ruffles inside the wedges.   I chose that quick design so that the cream wouldn't have to be in the bag for more than a couple of minutes.  Even so, the ruffles began sagging. This is a very simple design, even if you don't have any experience piping.  Give it a try! You can do this, I promise!
PictureSee that easy vertical spatula treatment on the sides? Try it! It's simple and looks so charming!


I piped a shell-motion border along the top edge with tip 105.  Very pretty, but they did begin to slide with the soft whipped cream.   I piped a hasty rose for the middle of the cake and called it finished.  


Picture
Oh dear, I can see the whipped cream sliding under the shell border...but it tasted so GREAT!

Finale

Out of all of my many favorites, this cake is going in the top five.  

All reports are that the birthday cake was devoured and declared "wonderful."  I didn't trust the whipped cream to hold up under the heat,  so I sent along a pretty glass dish filled with glass marbles to hold the 21 birthday candles!  No one took photos of the birthday "moment" with cake.  Oh well, happy birthday, Katelyn, on the threshold of your life!  You bring laughter and joy to all who meet you!


All of the components--the cake, the ganache, the caramel, and the caramel whipped cream--are exceptional in their own right.  Together, they are so good, it is one of the best desserts I have ever tasted!  

I hope my readers will try this recipe!  I am anxious to hear how my fellow Alpha Bakers liked it as well.  

Wishing us all the blessings of the new year--


Michele at home with my Artful Oven


26 Comments

    Archives

    August 2016
    September 2015
    August 2015
    July 2015
    May 2015
    April 2015
    March 2015
    February 2015
    January 2015
    December 2014

    Categories

    All

    RSS Feed

    Rose's blog HERE
    Rose's Alpha Bakers HERE
    Picture
Powered by Create your own unique website with customizable templates.