First thing--a shout-out and big thanks to Ann at Norm's Farm in Pittsoboro, NC for providing me with with elderberries for this week's baking assignment! I had all but given up on finding them. Then my husband Smitty googled "elderberries Durham NC" and discovered Norm's Farm, in nearby Pittsboro.
A note to readers from Norm's Farm: Rose's Alpha Bakers are a worldwide group of mostly home bakers who are baking every recipe in The Baking Bible, the latest cookbook by Rose Levy Beranbaum. We don't share the recipes online because they are copyrighted material. If you like what you see, please pick up your own copy of the book! You won't regret it! It's available on Amazon or hopefully at your local bookstore.
On this post you will see that I refer to "Rose--" the author. She is graciously participating in our bake along by making herself available for questions and comments. We all feel as though she has become a special friend!
The recipe calls for Rose's favorite Perfect Flaky and Tender Cream Cheese Pie Crust. I love that crust and do use it, but admit that I am partial to her all butter Deluxe Flaky Pie Crust from the Pie and Pastry Bible, so that's what I used for the ElderBlueberry Pie.
Rose has kindly posted one version of her Cream Cheese pie crust recipe online: http://www.realbakingwithrose.com/2014/11/roses_favorite_flaky_tender_pi.html#.Vblkf_lViko
Rose has kindly posted one version of her Cream Cheese pie crust recipe online: http://www.realbakingwithrose.com/2014/11/roses_favorite_flaky_tender_pi.html#.Vblkf_lViko
Lately I've been dissatisfied with my pastry. It was time to go back to the drawing board and re-learn the basics. I was inspired by my fellow Alpha Baker Kim to make my pie crusts by hand. Actually, I settled on a hybrid method of using Rose's food processor method and then working the dough by hand.
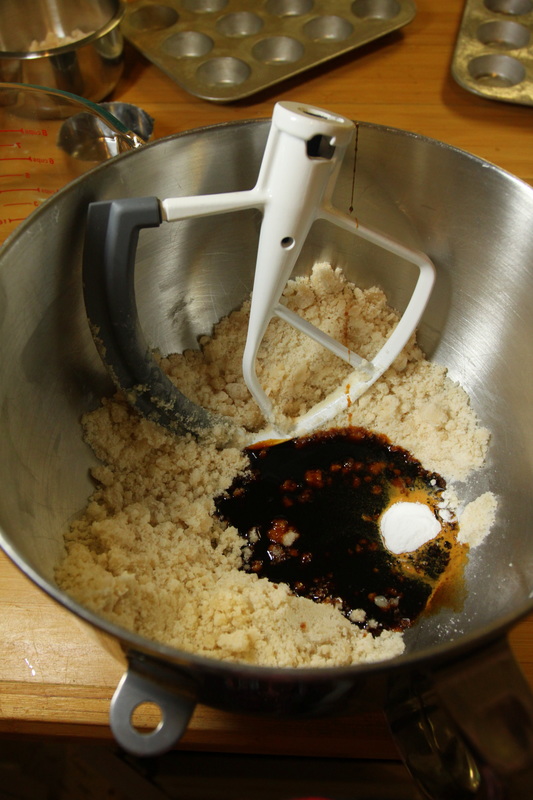
Because lately my dough has seemed too dry and wouldn't come together well, I consulted the Pie and Pastry Bible. Rose says this is because the flour particles haven't been "moisture-proofed" enough--they haven't been adequately coated with fat.
I found it so much easier to shepherd the errant crumbs and smear them with flakes of butter using the heel of my hand than I did using Rose's plastic bag method. This method worked great!
Thanks, Kim, for the inspiration!
Stop by and see Kim at work at her beautiful blog, The Finer Cookie--
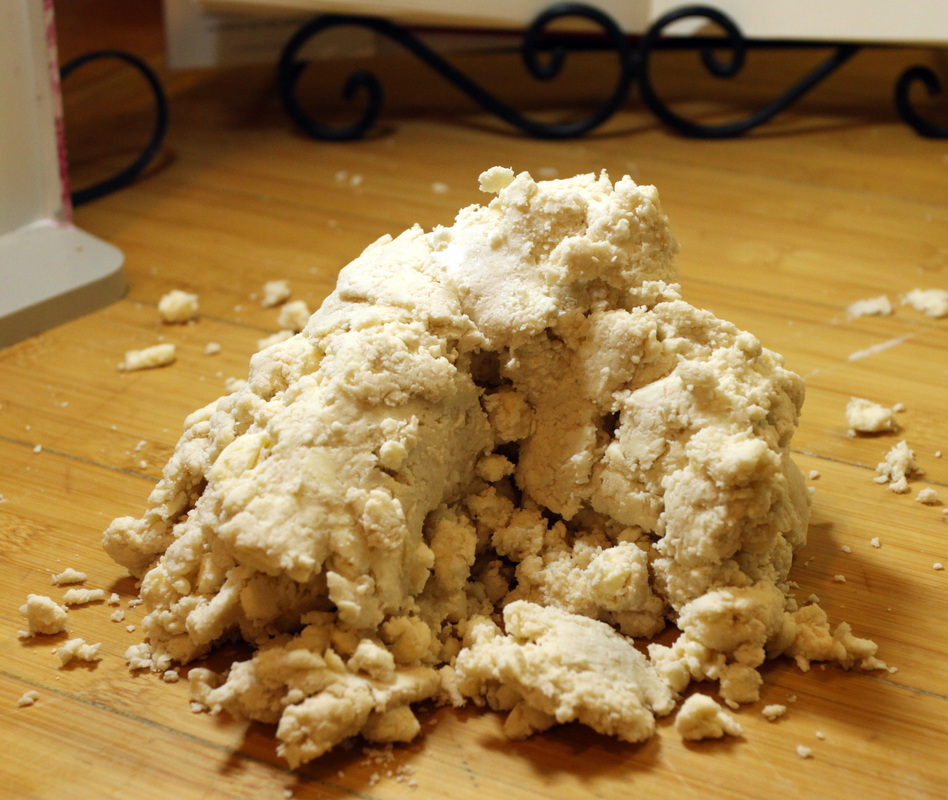
It's coming together now! (10:00AM)
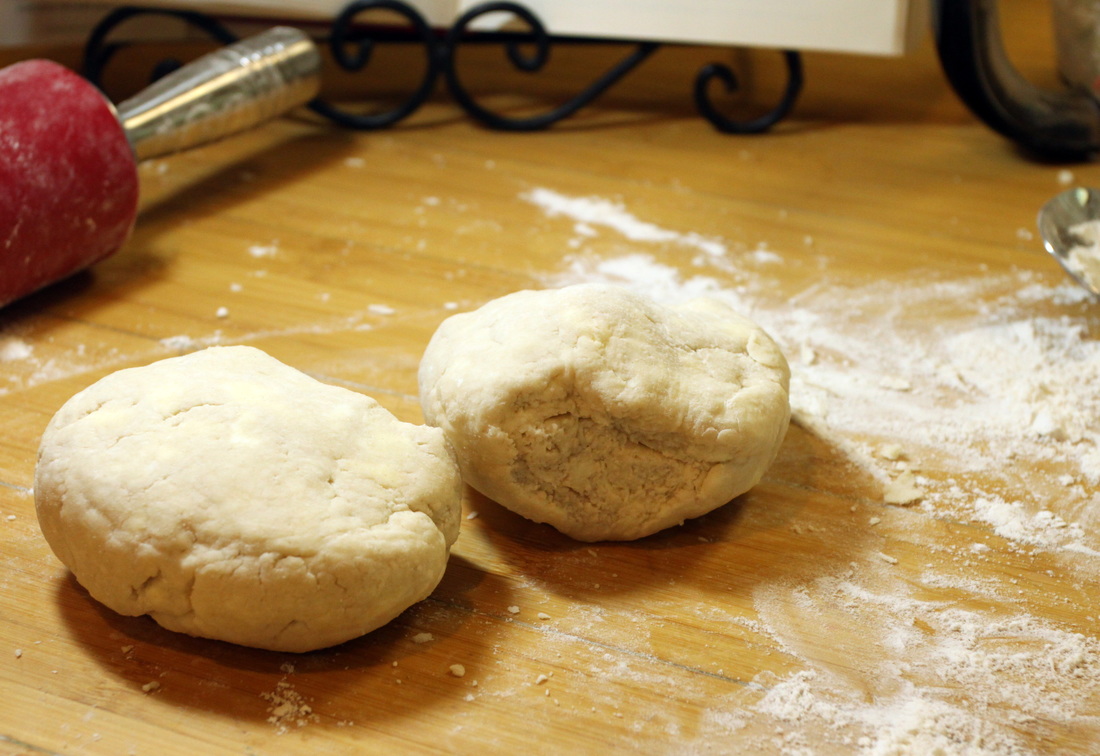
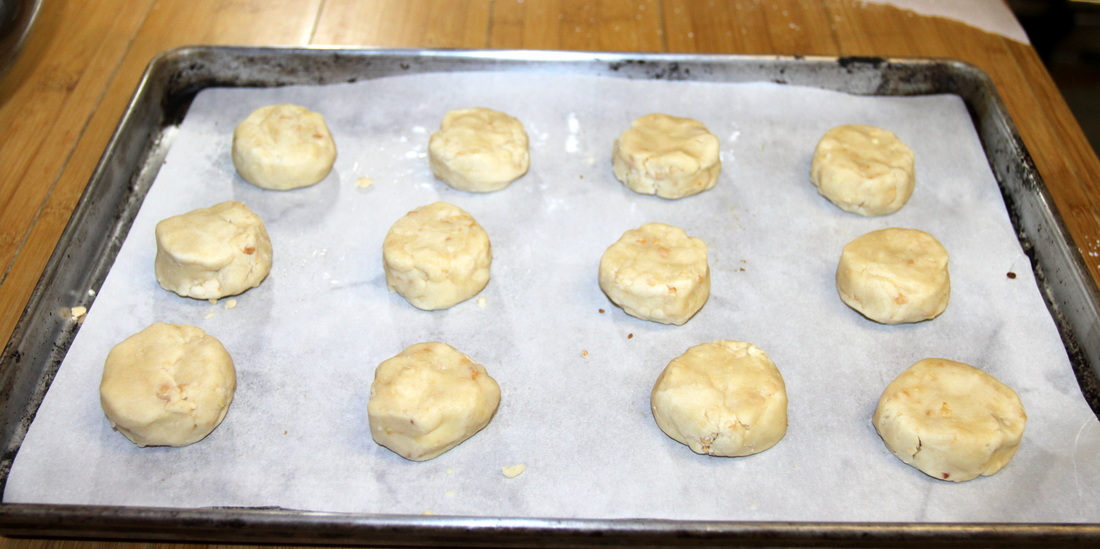
The dough has been divided into two pieces for the top and bottom crusts.
Before this step, I rolled it gently into a rectangle and gave it a "business letter turn," which means folding the dough in thirds just like you would a sheet of paper to slip into an envelope. This step adds to the flakiness of the finished pastry. Divine!
Before this step, I rolled it gently into a rectangle and gave it a "business letter turn," which means folding the dough in thirds just like you would a sheet of paper to slip into an envelope. This step adds to the flakiness of the finished pastry. Divine!
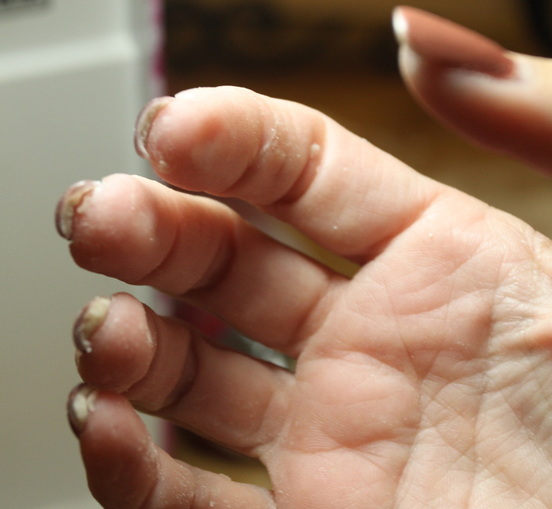
This is the one drawback to the hand method--I really hate the feeling of dough under my long fingernails. This is a selfie, BTW.
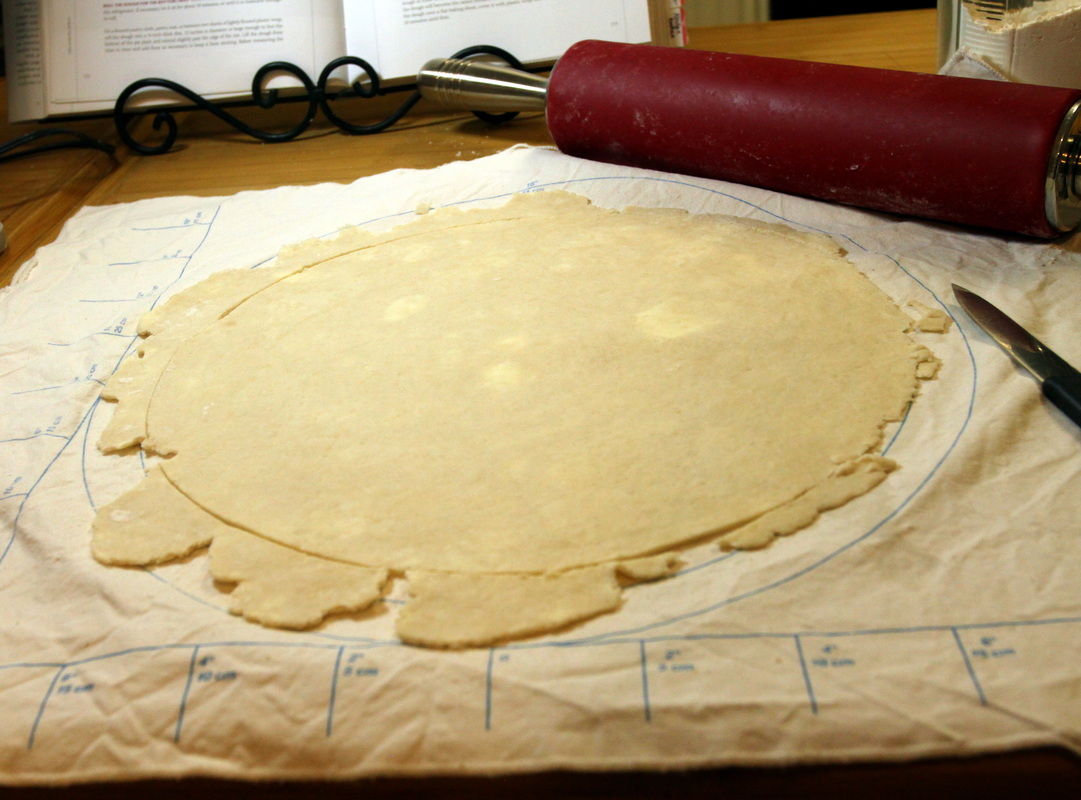
After chilling, the dough is rolled out on my pastry sheet. It's trimmed to size and transferred to the pie plate. Then the pastry shell is chilled thoroughly before it's filled and baked. See those scraps on the edges? NEVER discard those! Freeze them and before long you will have enough for another pie shell. (See page 15 , Pie and Pastry Bible)
I make pie crusts in multiples. I made six butter pie crusts and one Miracle Flaky Lard Pie Crust (Pie and Pastry Bible), all with my newfound hybrid food processor-hand method. I froze the extra crusts, refrigerated the dough for "today's" pie (I thought) (and cleaned up the kitchen for the first time.
I make pie crusts in multiples. I made six butter pie crusts and one Miracle Flaky Lard Pie Crust (Pie and Pastry Bible), all with my newfound hybrid food processor-hand method. I froze the extra crusts, refrigerated the dough for "today's" pie (I thought) (and cleaned up the kitchen for the first time.
Now I turn back to the elderberries. (7:00 PM)
I met up with Ann from Norm's Farm a few days ago and she gave me bags of frozen elderberries. You've heard me say it before, but I simply love the way I meet new people with my baking!
Norm's Farm is simply amazing! It's a family farm that supplies elderberry jam, jelly and wellness products to retailers all over the country. Look for them on Amazon or check out their website here:
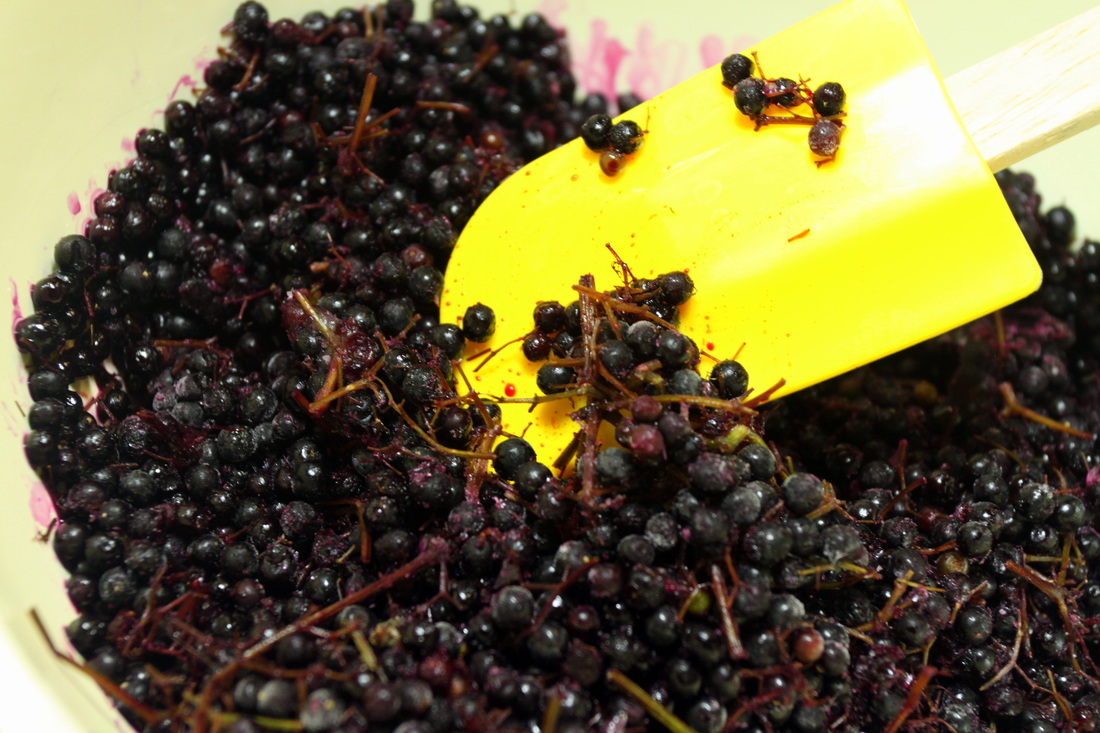
Aren't they beautiful? As purple as Concord grapes, elderberries are the size of peppercorns. They are still frozen in this photo.
Ann told me to knock the bag around to remove the stems, and she was right, the stems came right off...mostly. I was left with a bowl of gorgeous berries, and so many tiny stems I didn't know what to do. Did I not knock the bag enough?
Ann told me to knock the bag around to remove the stems, and she was right, the stems came right off...mostly. I was left with a bowl of gorgeous berries, and so many tiny stems I didn't know what to do. Did I not knock the bag enough?
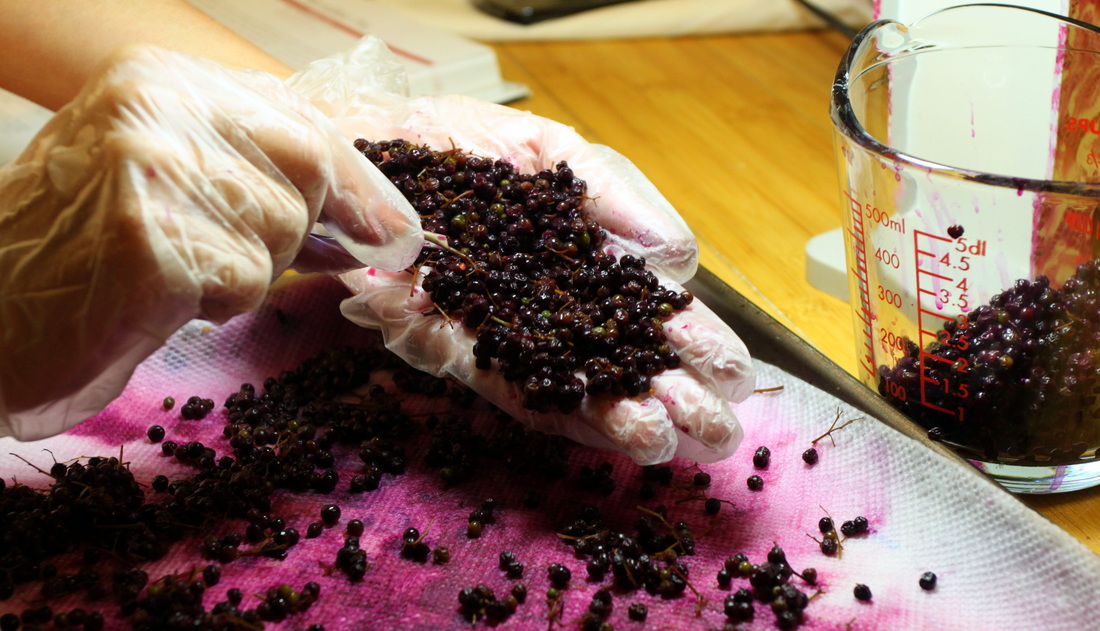
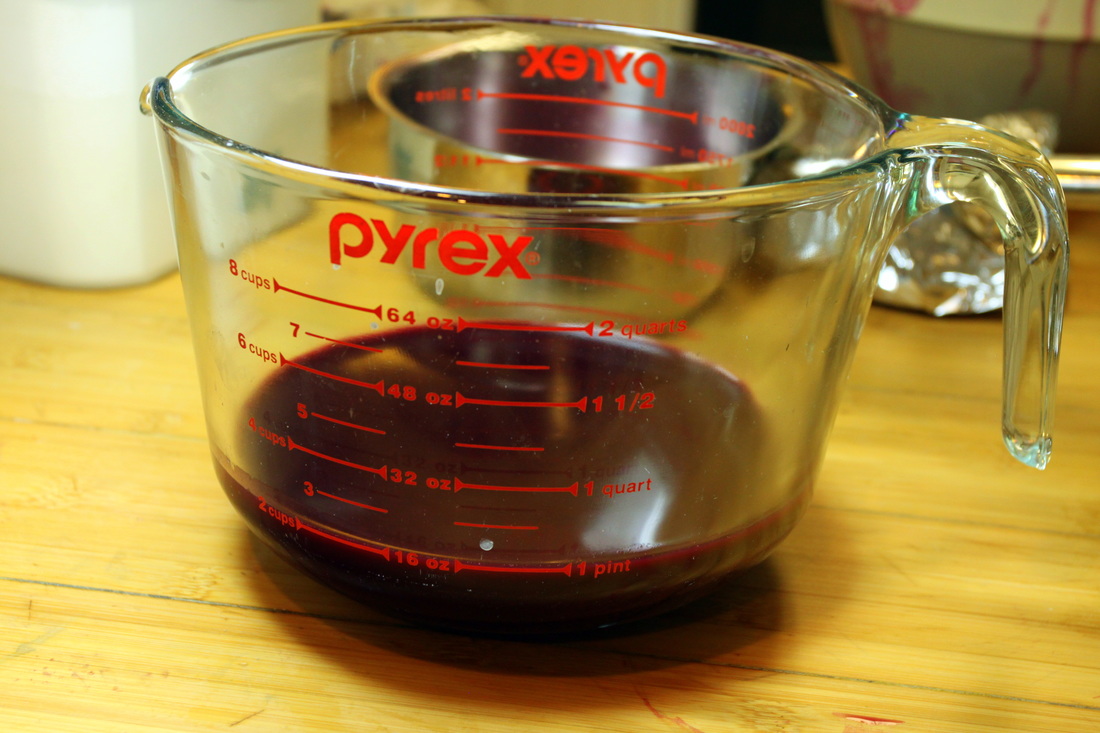
They are defrosted at this point. Ann had impressed upon me that the berries are extremely perishable. I needed to fill that entire measuring cup to make this recipe! That's a pair of tweezers in my hand as I attempted to remove the many tiny stems mixed up with the dainty berries. I had been at this for more than an hour at this point. (9:00 pm)
Finally I realized it simply wasn't possible.
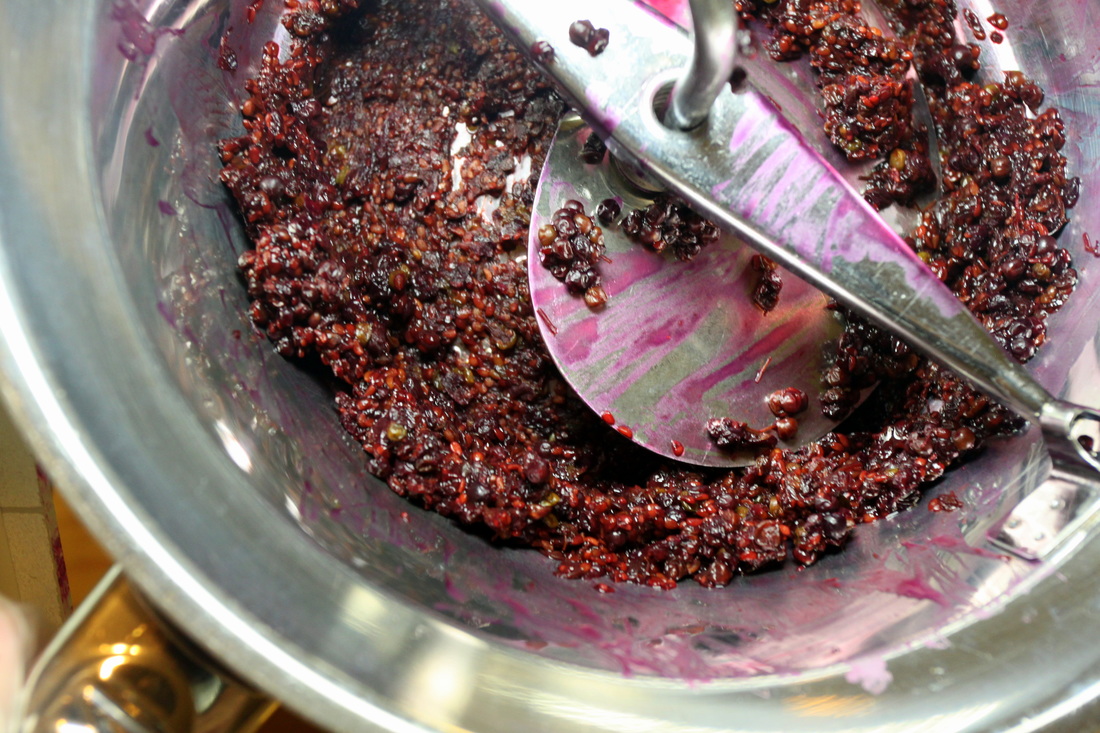
By 10:30pm I was out of ideas. I hated to lose the texture of the berries, but I put them through the finest screen on my trusty food mill. I got a thick juice and this was what was left--dry skins, seeds and although you can't see them--STEMS galore.
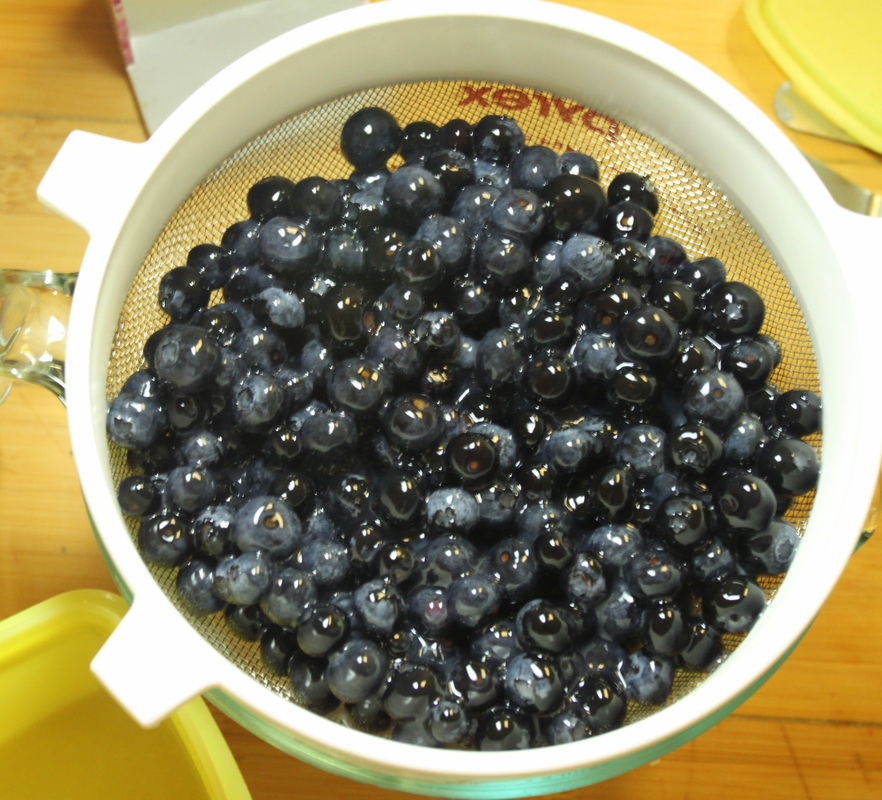
Just to be on the safe side I poured the juice through a fine mesh strain--it was free of debris.
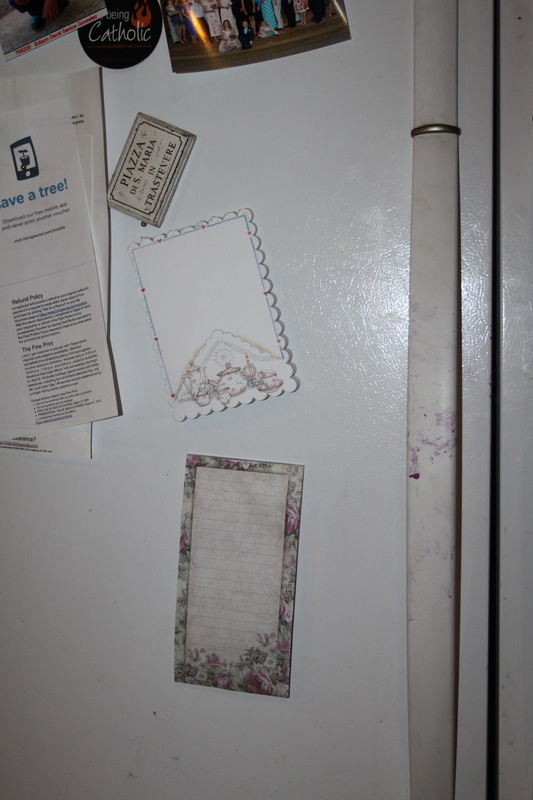
My kitchen looked like an elderberry crime scene. Note the fridge handle. The elderberry signature was everywhere--on my clothing, apron, fingers, nails, countertops, sink.
By 10:30pm I was out of ideas. I hated to lose the texture of the berries, but I put them through the finest screen on my trusty food mill. I got a thick juice and this was what was left--dry skins, seeds and although you can't see them--STEMS galore.
Just to be on the safe side I poured the juice through a fine mesh strain--it was free of debris.
- (A quick side note: I always feel a touch of nostalgia for our little Nigerian dwarf goat, Turbo, who would go crazy when he saw me coming toward his pen with berry trimmings! Oh, how I miss him whenever I have a big bunch of this kind of stuff! We raised him when our children were in elementary school. Jessica and Dustin had shirts that read "No Kidding, Goats Are Great!" Those were happy days!)
My kitchen looked like an elderberry crime scene. Note the fridge handle. The elderberry signature was everywhere--on my clothing, apron, fingers, nails, countertops, sink.
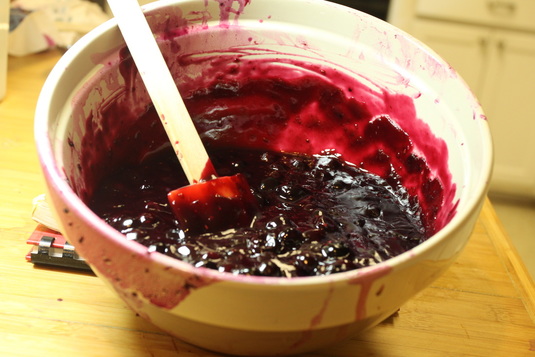
The pie filling recipe calls for equal parts elderberries and blueberries. A slurry of water and corn starch is boiled with sugar. When the mixture thickens, the berries are folded in. A final splash of lemon juice is added to brighten the flavors and the filling is cooled before being poured into the chilled pie shell.
My pie filling, now devoid of the elderberry pulp and seeds, was impossibly liquid and the volume was significantly reduced.
Worst of all...it tasted like weeds. What to do?? Should I waste one of my favorite, labor intensive butter pie crusts on a weed pie?? A couple of the Alpha Bakers weighed in and said NO. I was inclined to agree. I went to bed exhausted.
DAY TWO 10:00 AM
But Rose....would she steer me wrong? Her description of elderberries was "hauntingly unique." I didn't want to miss out, so I decided to trust her about the weedy berries and find a way.
I had to completely rework the recipe to account for the fact that I was using elderberry juice instead of the whole berries. As I often say, I am a Girl Scout. I would make it happen somehow!
The two big problems:
- I needed more filling.
- I needed to thicken the filling that I had.
Fortunately, I had more elderberries and more blueberries on hand.
First I "juiced" the rest of Ann's berries. I strained the blueberries from my liquid pie filling and added the new elderberry juice to it.
I whisked several teaspoons full of cornstarch into the mixture and added a couple of tablespoons of sugar, taking a conservative guess at how much would be needed to balance out the addition of the extra berries. I tasted the weed mixture to see if it was appropriately sweet and it seemed to be okay.
I was concerned that exposing the mixture to more direct heat would degrade the fruit juice, since most of it had already been boiled the day before. I left it in the heatproof cup and microwaved it instead for about two minutes.
Miracle!!
The fragrance of elderberries when I opened the microwave was... irresistible. I tasted the mixture. An unusual flavor, fruity and floral with a slightly earthy undertone, and not a trace of weediness!! As the juice cooked, the berry's flavor had finally emerged. Another minute in the microwave and it was perfectly thickened.
Because I would be relying on the blueberries for texture, I folded the extra blueberries into the mixture after it had finished thickening. I didn't want them to soften too much.
Oh, if only you could smell it!! No more weedy flavor!

Here's the smooth, dark filling as it goes into my favorite all butter pie shell.
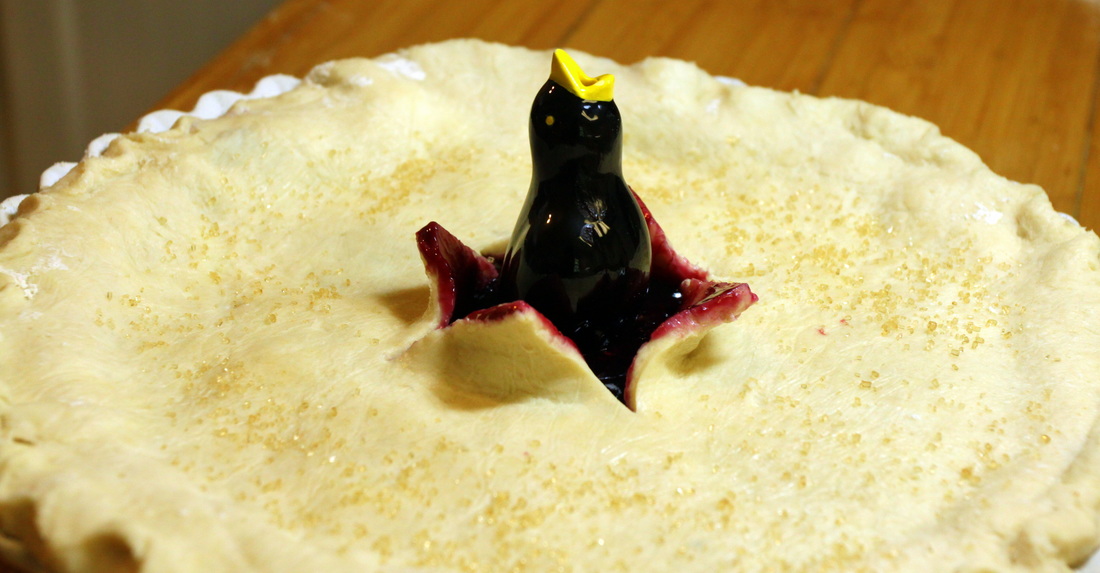
Here is a shot of the pie before baking. For extra crunch I like to sprinkle a little turbinado sugar on the top crust. I am using my little ceramic pie bird handmade by my former sister in law, Denise Turnley, circa 1992. Isn't it perfect? Although he is supposed to represent a blackbird, I call him Magpie. Into the fridge to chill. (4:00PM)
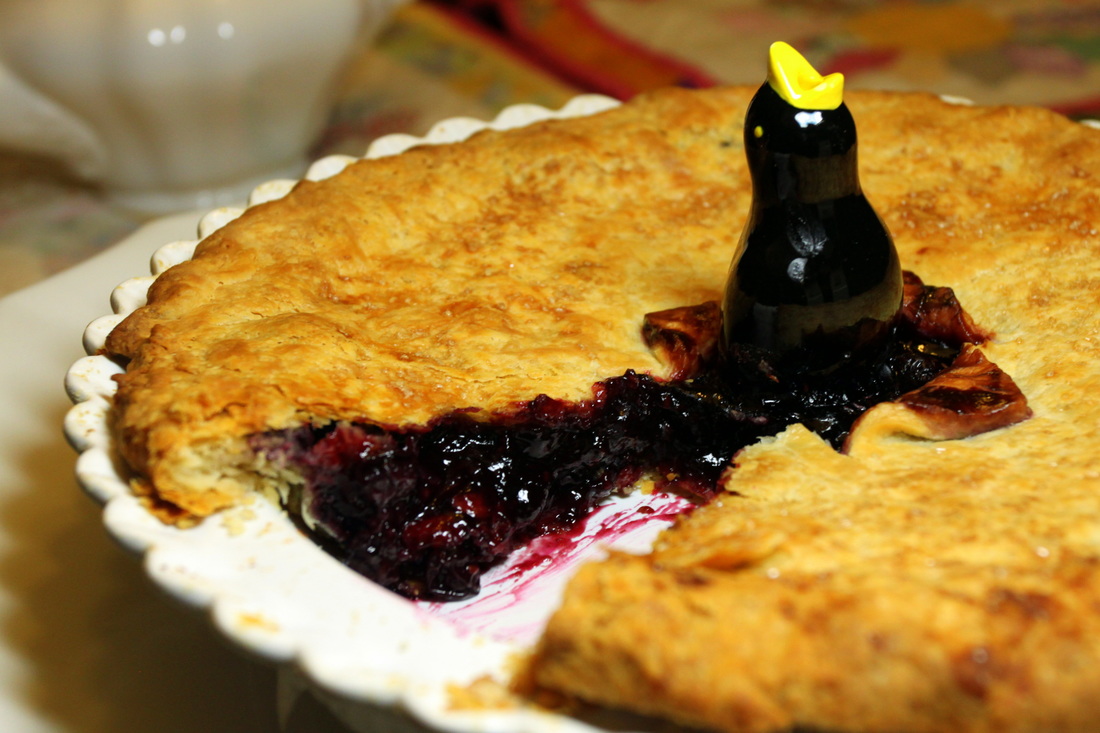
The aroma! The perfect flow of the juicy berry filling! The perfect, flaky, crisp butter crust! You can almost hear my little Magpie singing. Is there anything as simply joyful as a summer fruit pie?
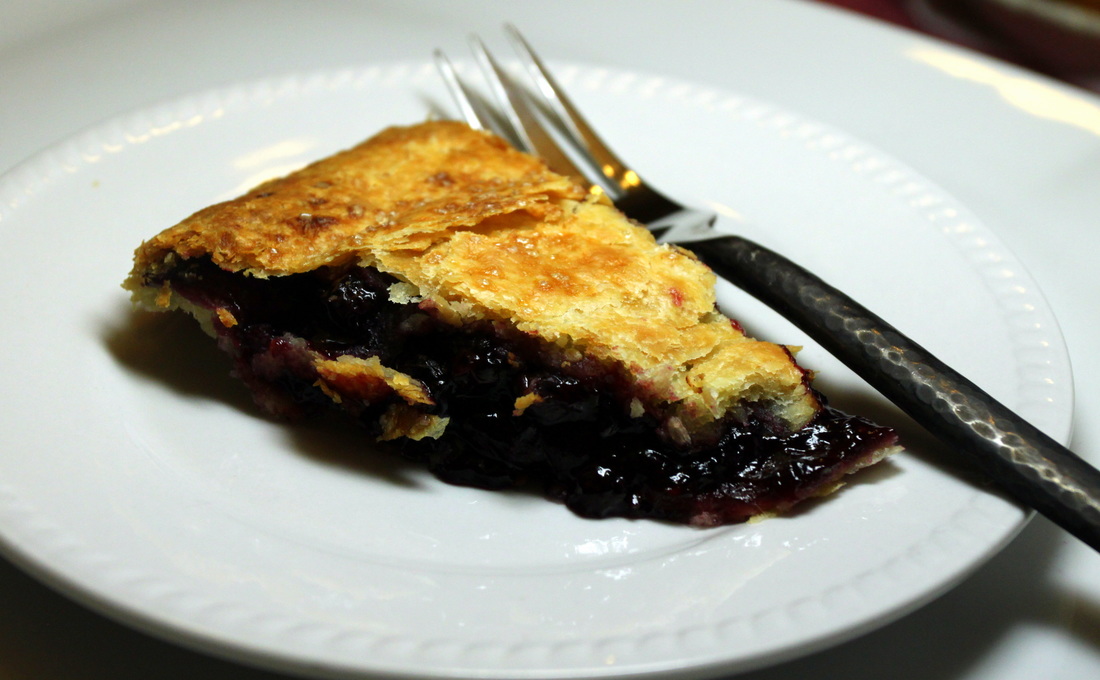
This pie is delicious, the elderberries are memorable and completely unlike any other berry.
(9:00 PM)
But the real question....would I make this recipe again?
Reluctantly, I have to say no--not unless I can find a better way to clean the elderberries. Perhaps it is significantly easier to handle the fresh berries than it is the frozen berries.
However, I am VERY interested in growing my own elderberry bush! I really do love this flavor, and even if all I can get is the strained juice to make jam or jelly, I would like to grow these berries in my yard. Fortunately, Norm's Farm sells bushes and even cuttings to make this easy, so hopefully this isn't the last elderberry experiment in my kitchen.
Again, my sincere thanks to the good folks at Norm's Farms in Pittsboro, NC for the berries!
NEXT UP: 100% Whole Wheat Walnut Loaf
I sincerely appreciate visitors and comments on my blog!
I sincerely appreciate visitors and comments on my blog!

 RSS Feed