the Artful Oven
  • Home
  • Rose's Alpha Bakers
  • Bread Bible Alpha Bakers Bake Along

Triple Berry Crisp (No geese this time!)

8/10/2016

3 Comments

 
Picture
After a LONG absence from blogging, I am happy to be back to my Artful Oven, this time with Rose's Gooseberry Crisp.  I couldn't get any gooseberries, but will try to find some for future baking of this delicious, easy dessert.  

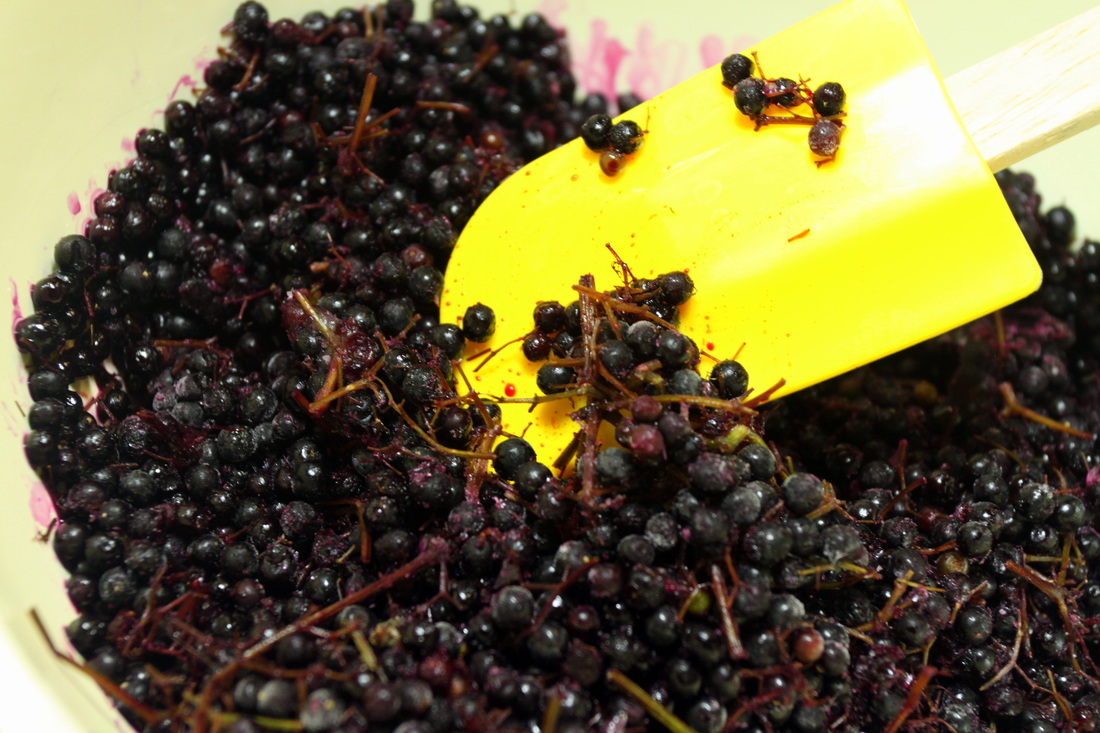
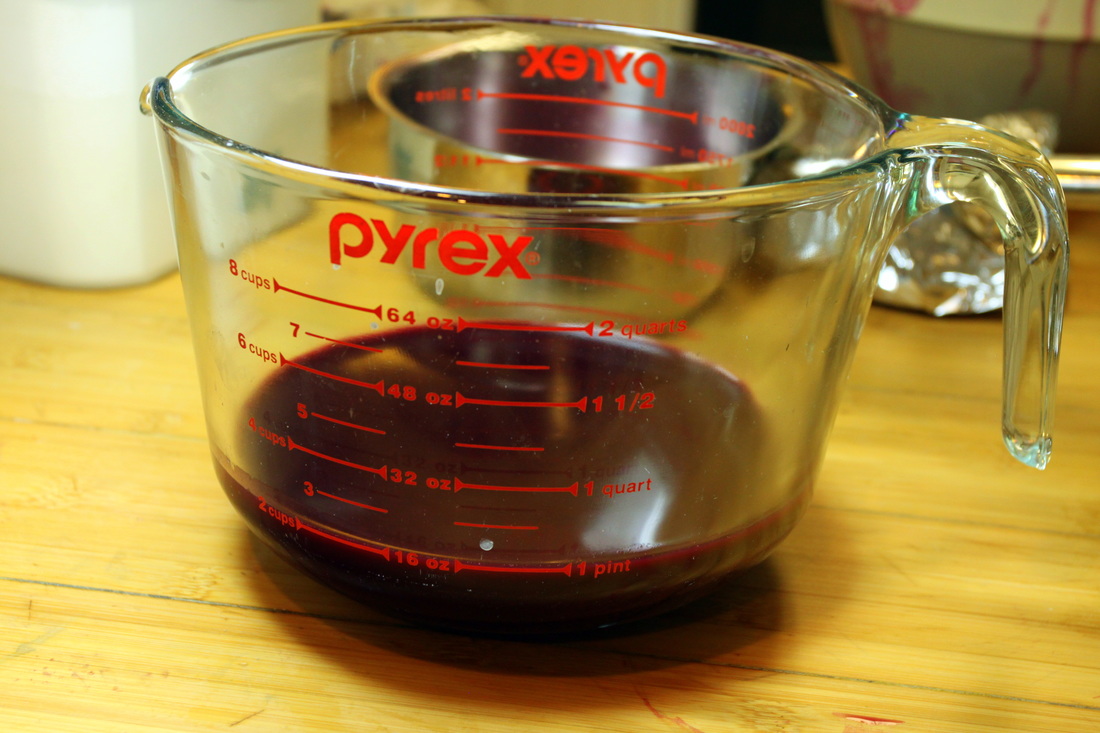
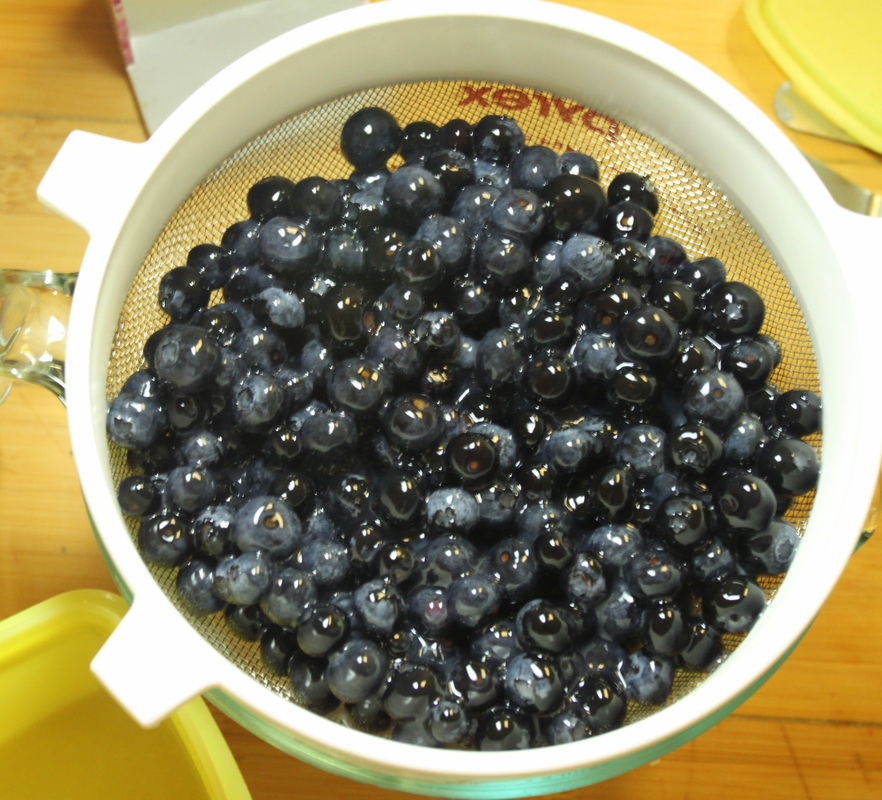
​As an alternative, I used a combination of blackberries, blueberries and raspberries that I had on hand, and substituted the filling from the Blu-Rhu Pie, which was one of the suggested substitutions.  

Picture
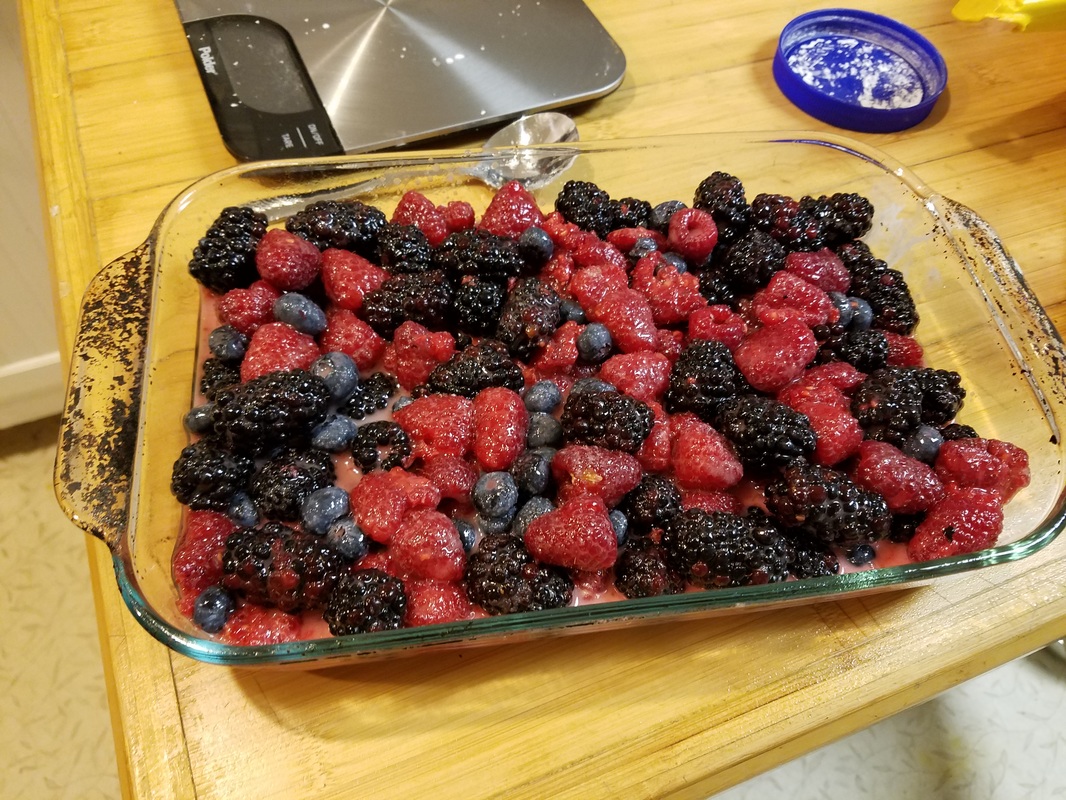
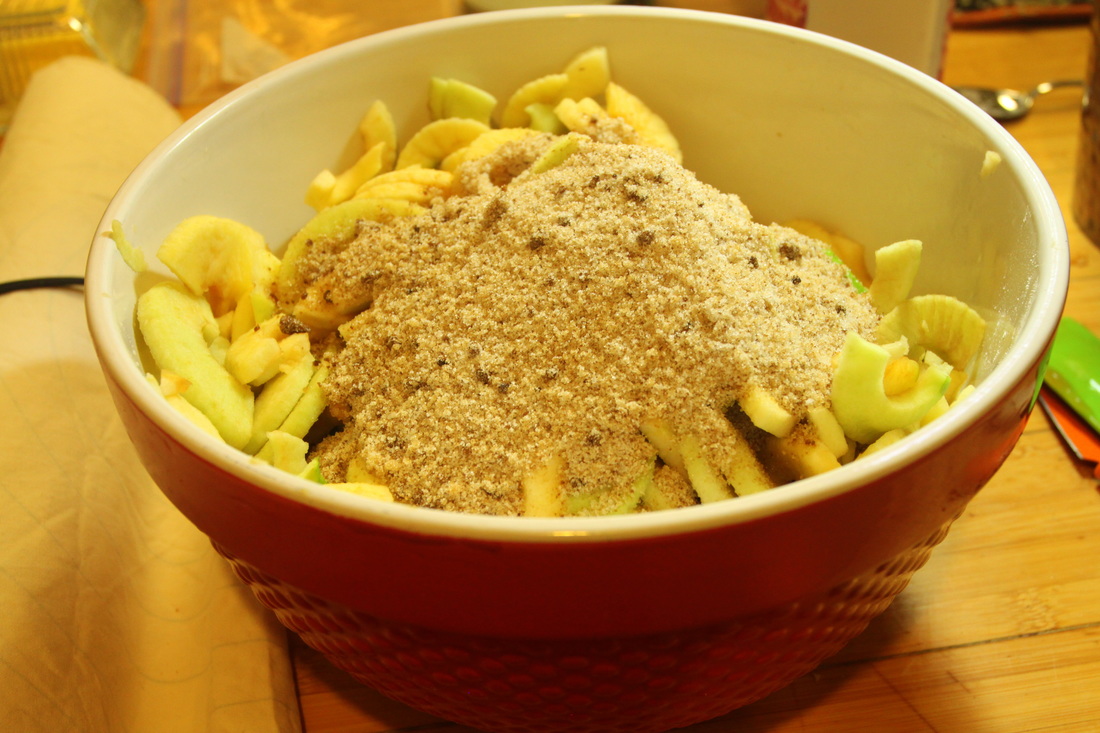
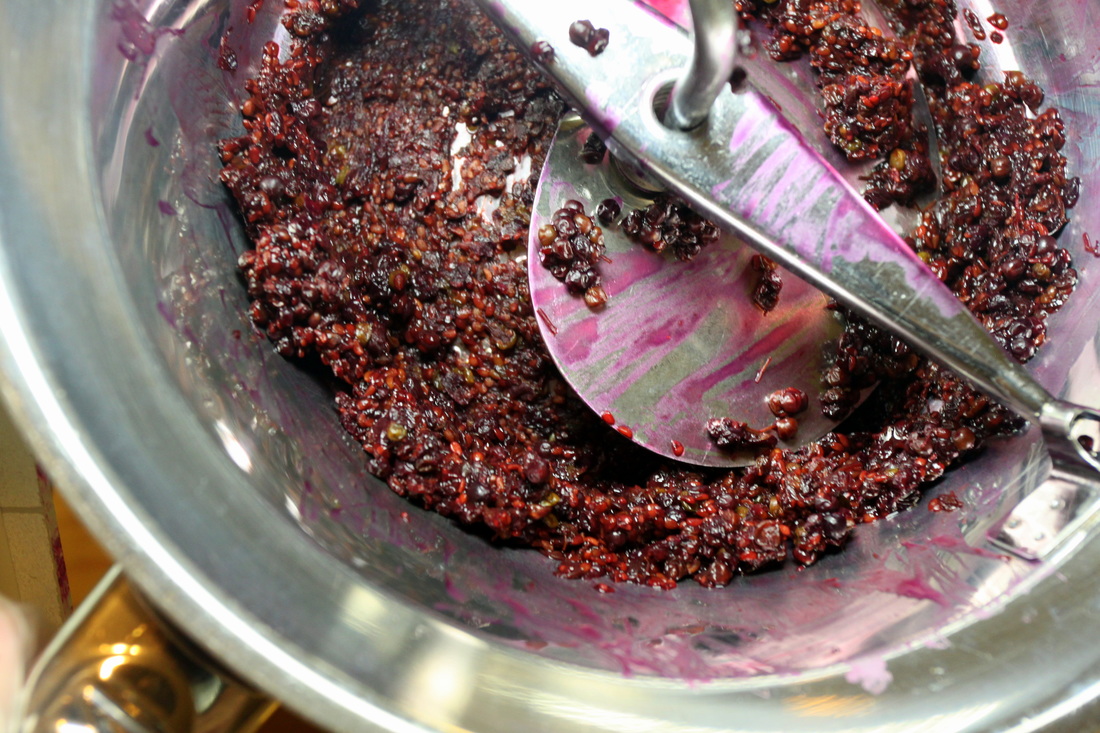
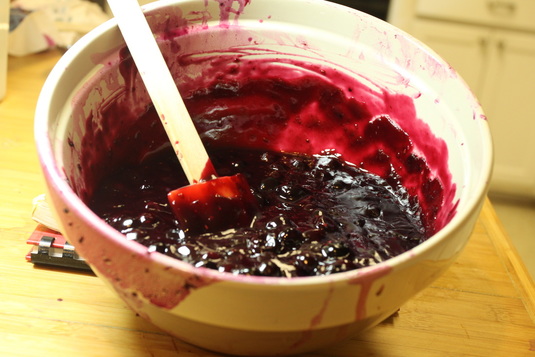
The berries were tossed with a simple mixture that included cornstarch and white sugar.  
Picture
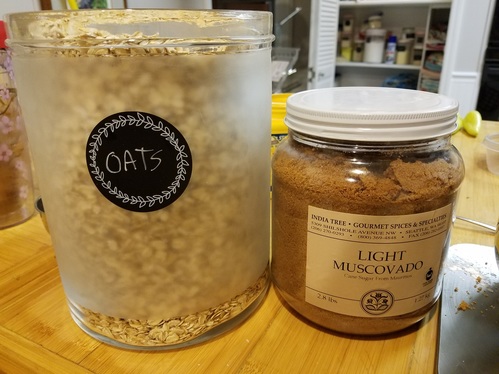
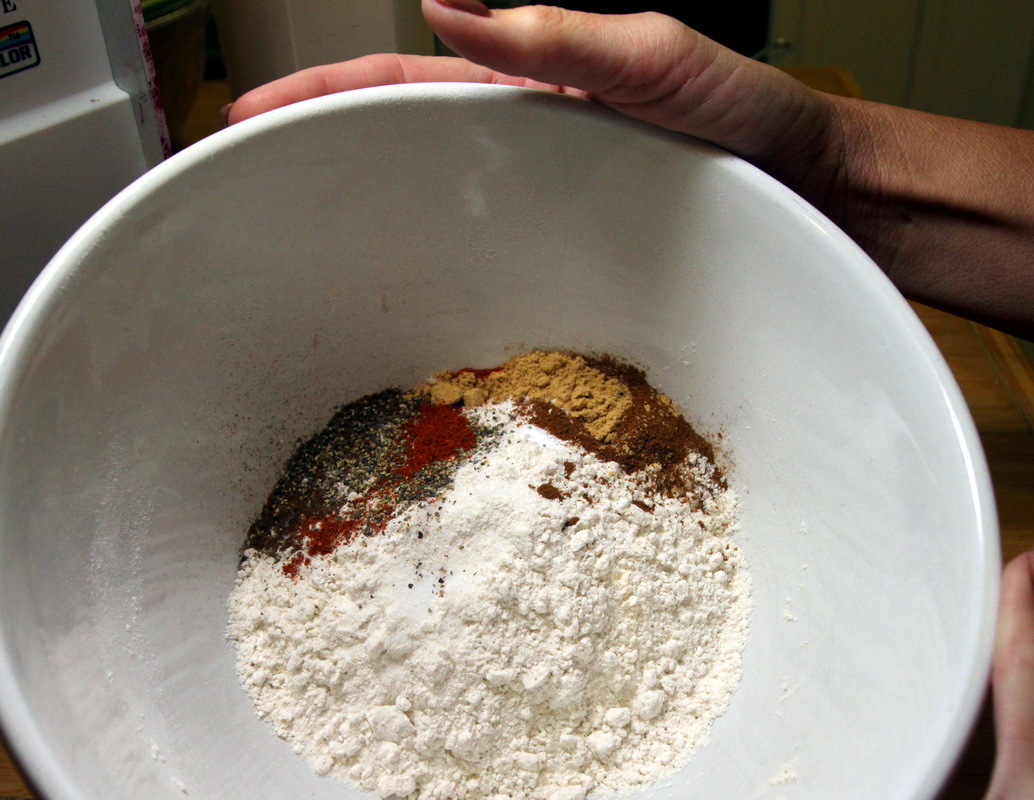
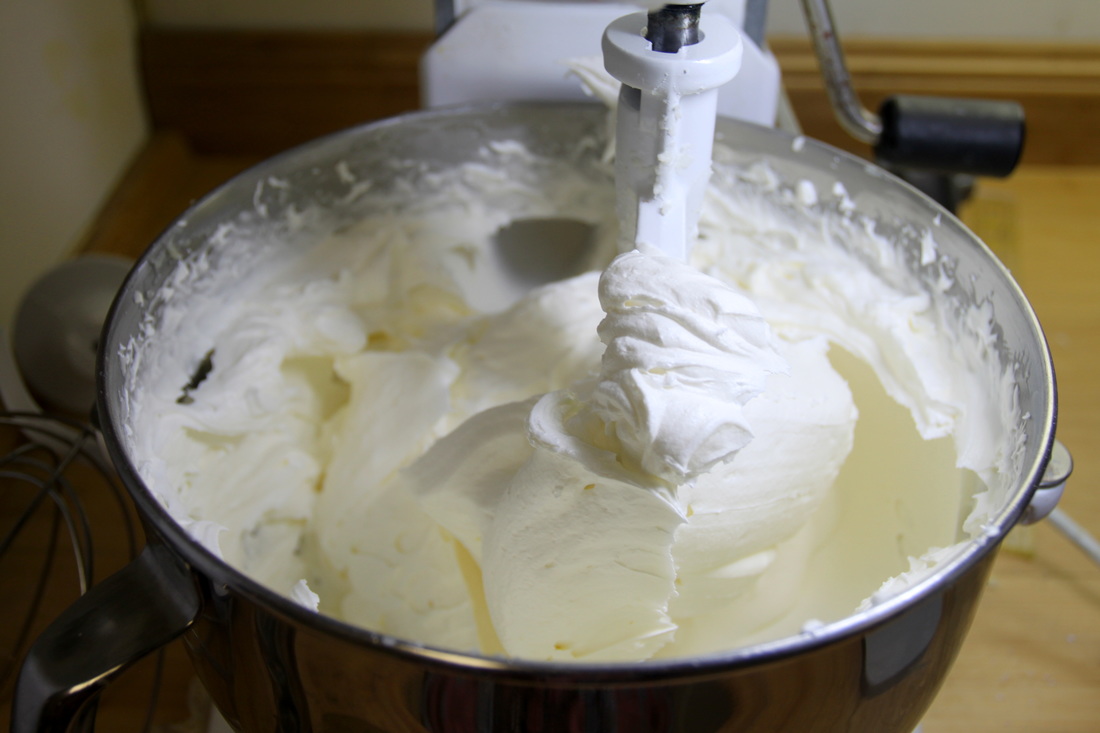
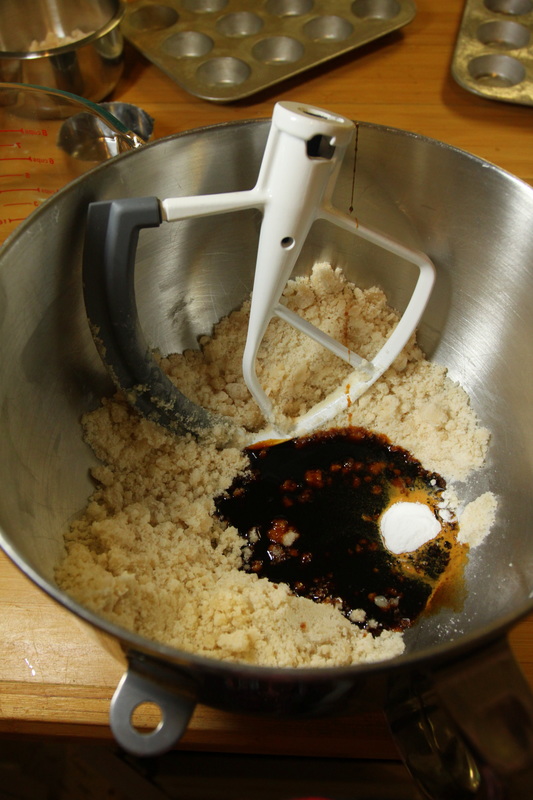
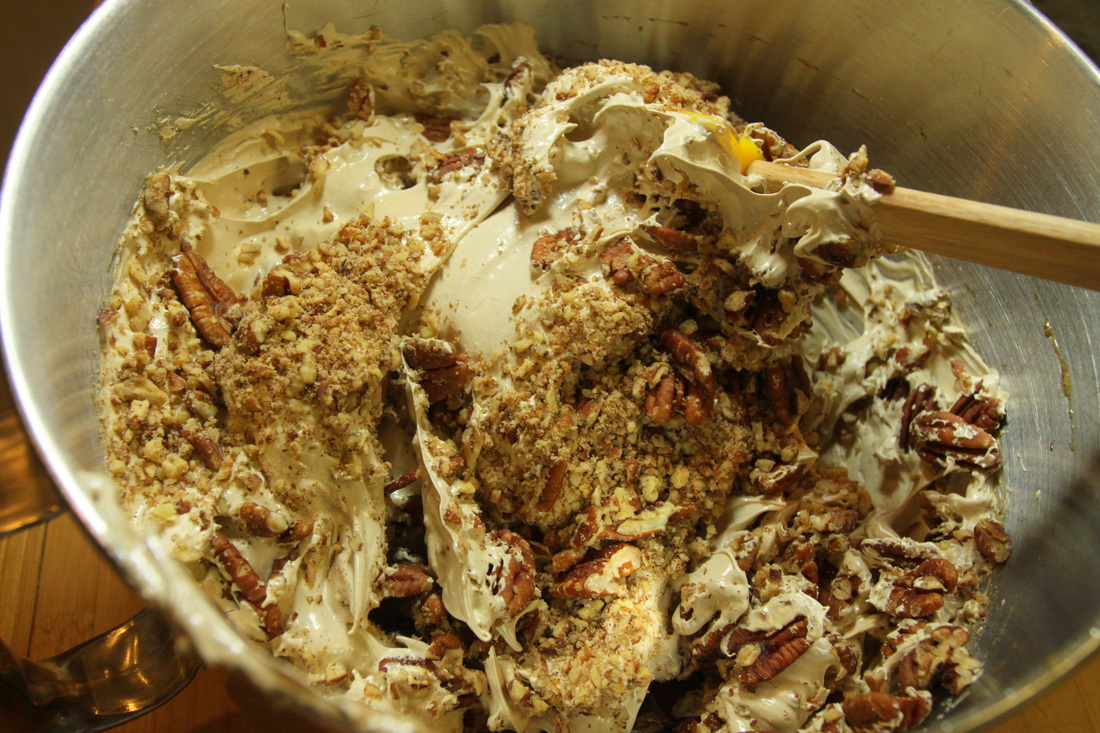
Pantry essentials--old fashioned oats and Muscovado sugar--make for a delicious crumb topping.
Picture
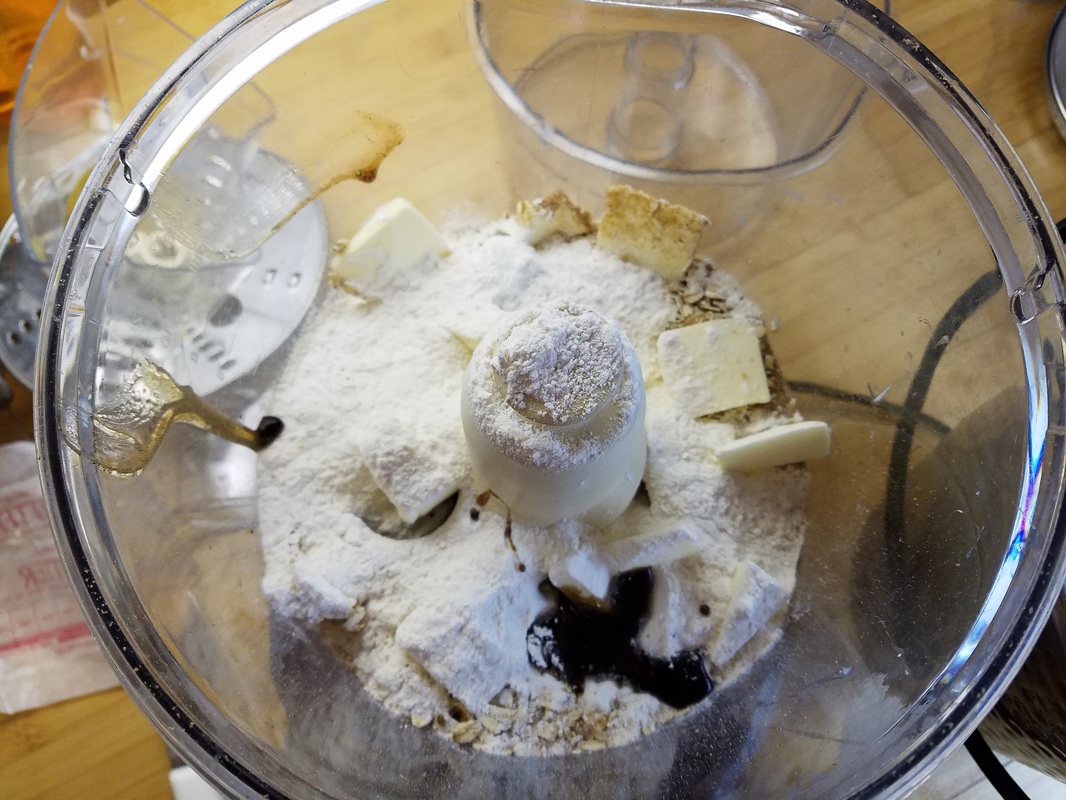
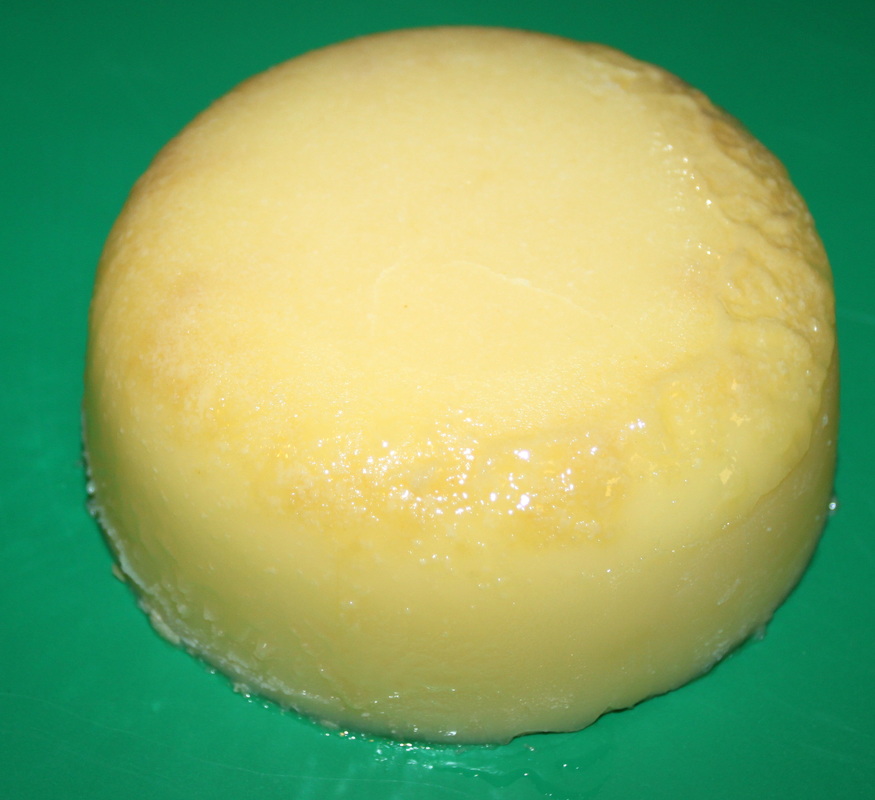
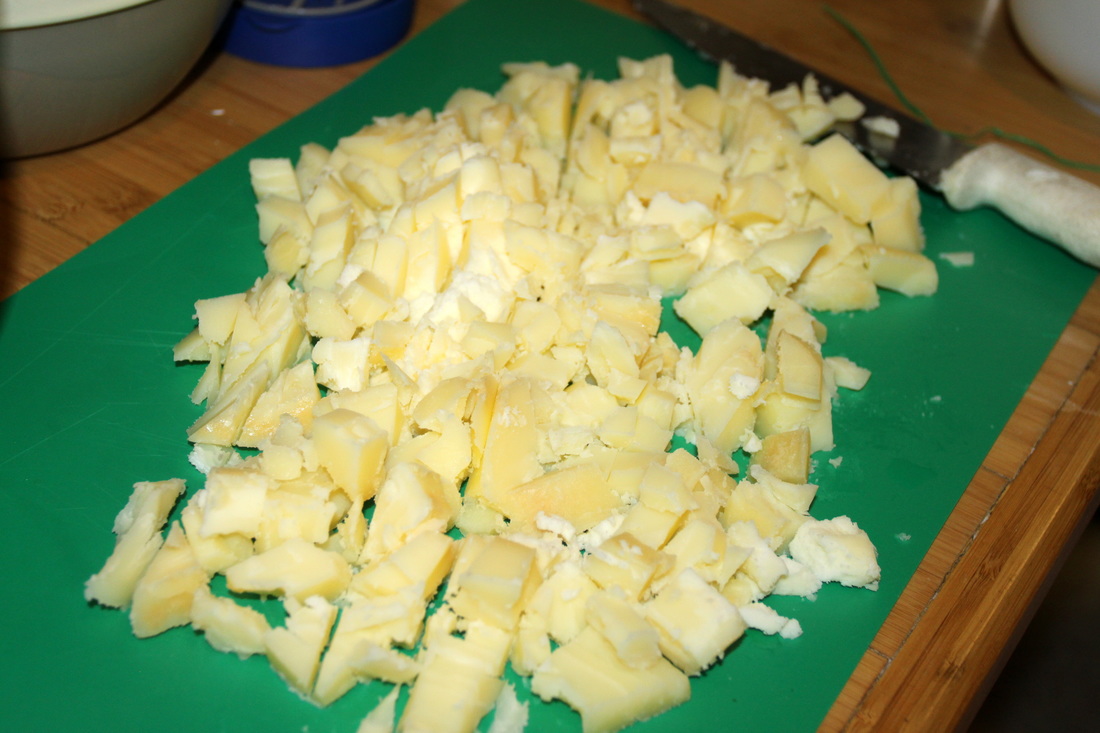
The dry ingredients are pulsed in the food processor with unsalted butter and vanilla--in this case I used vanilla bean paste.
Picture
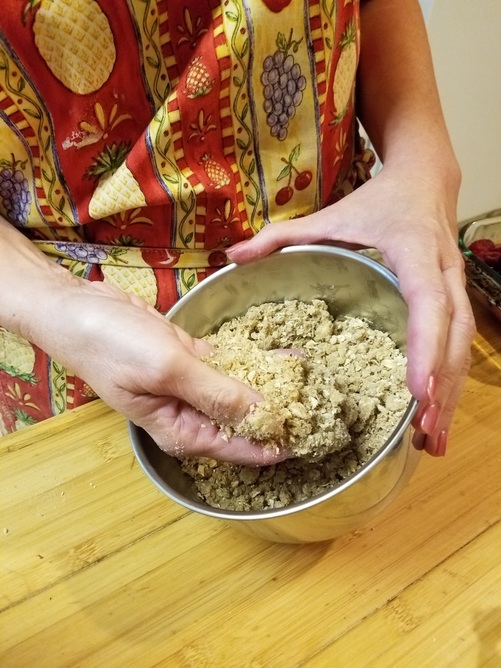
First, I adjusted the recipe to accomodate my larger pan.  But knowing how much Smitty appreciates the crust and crumb portion of this type of dessert, I ended up doubling the amount of the crumb topping!
Picture
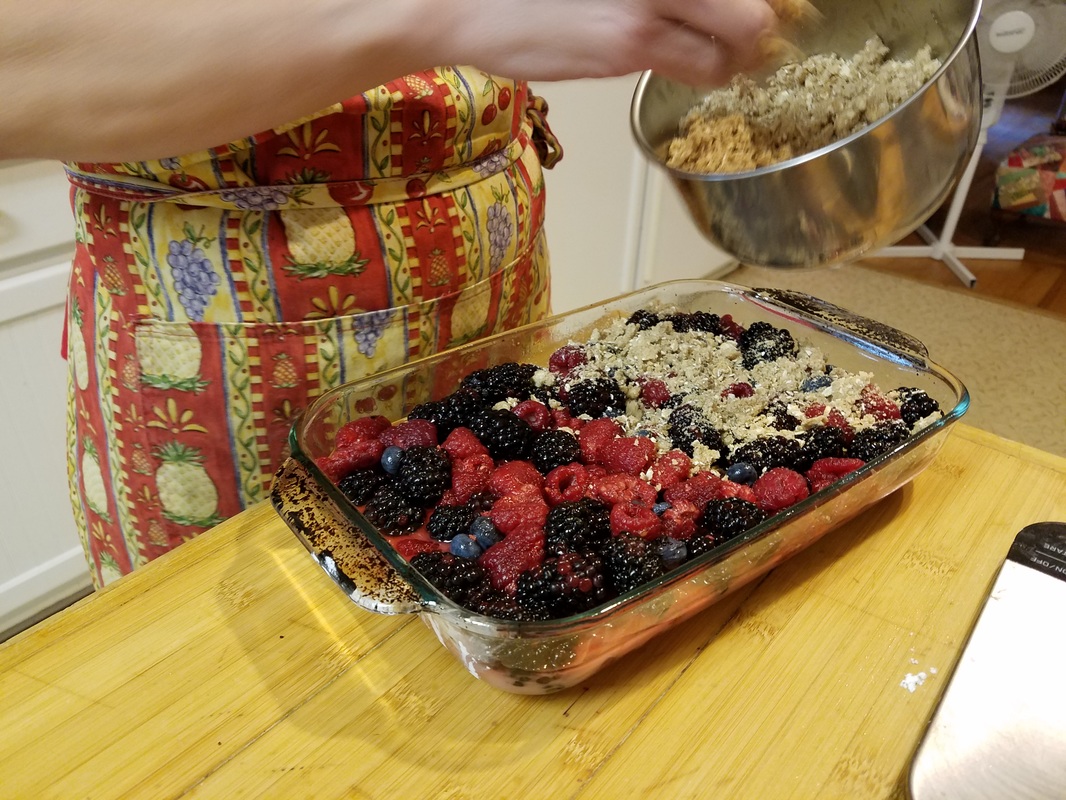
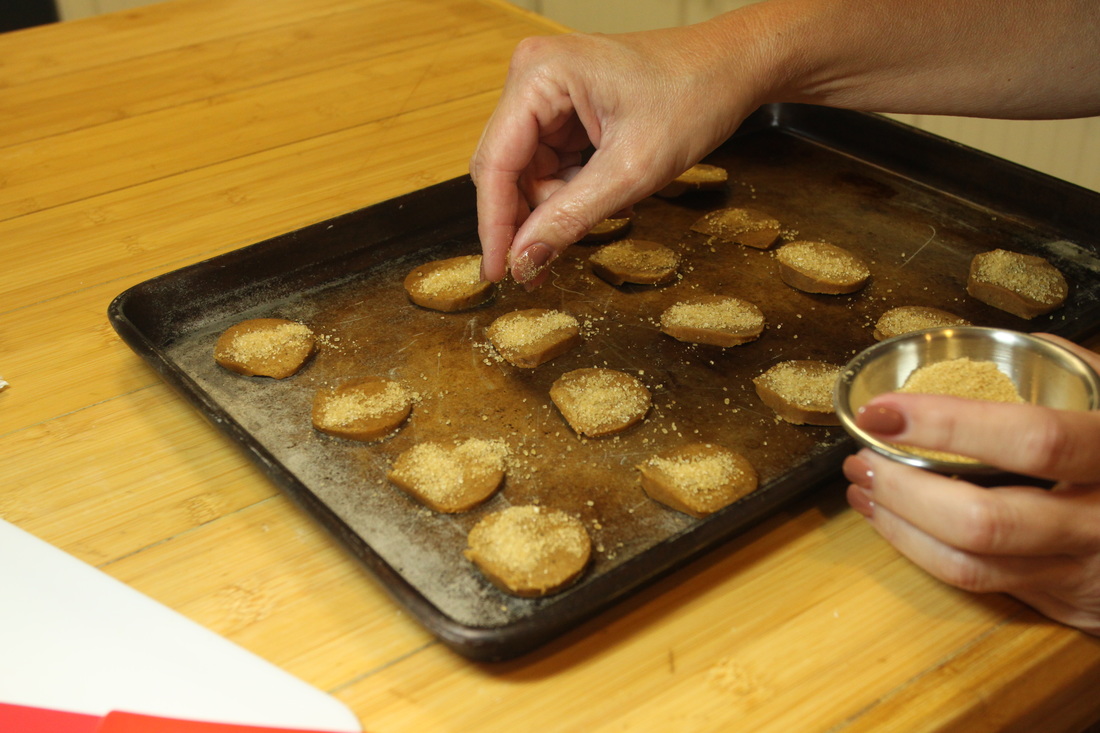
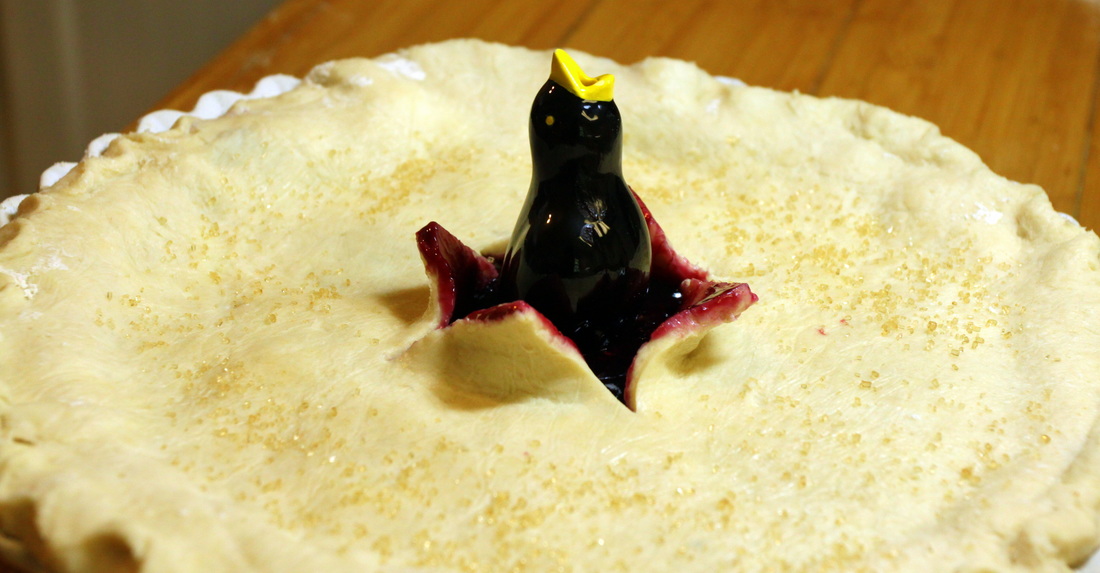
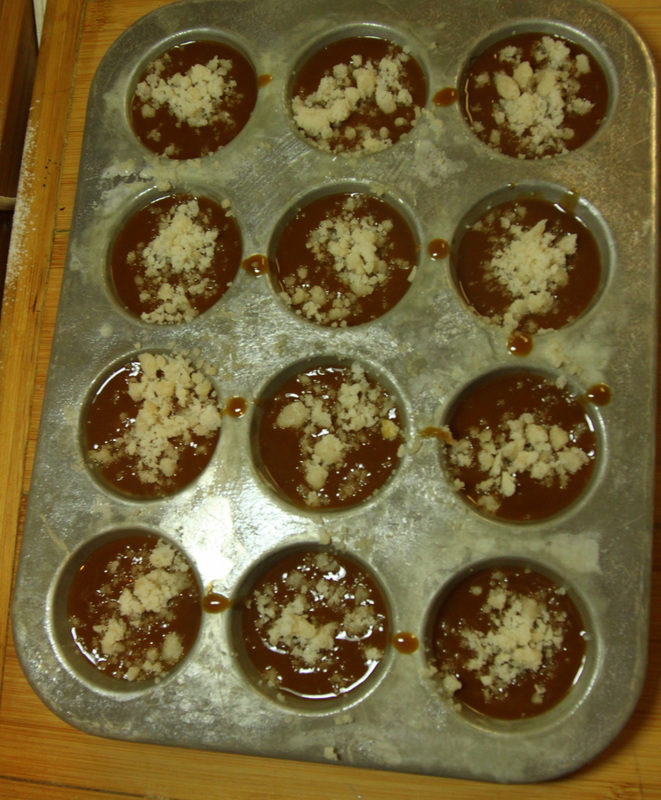
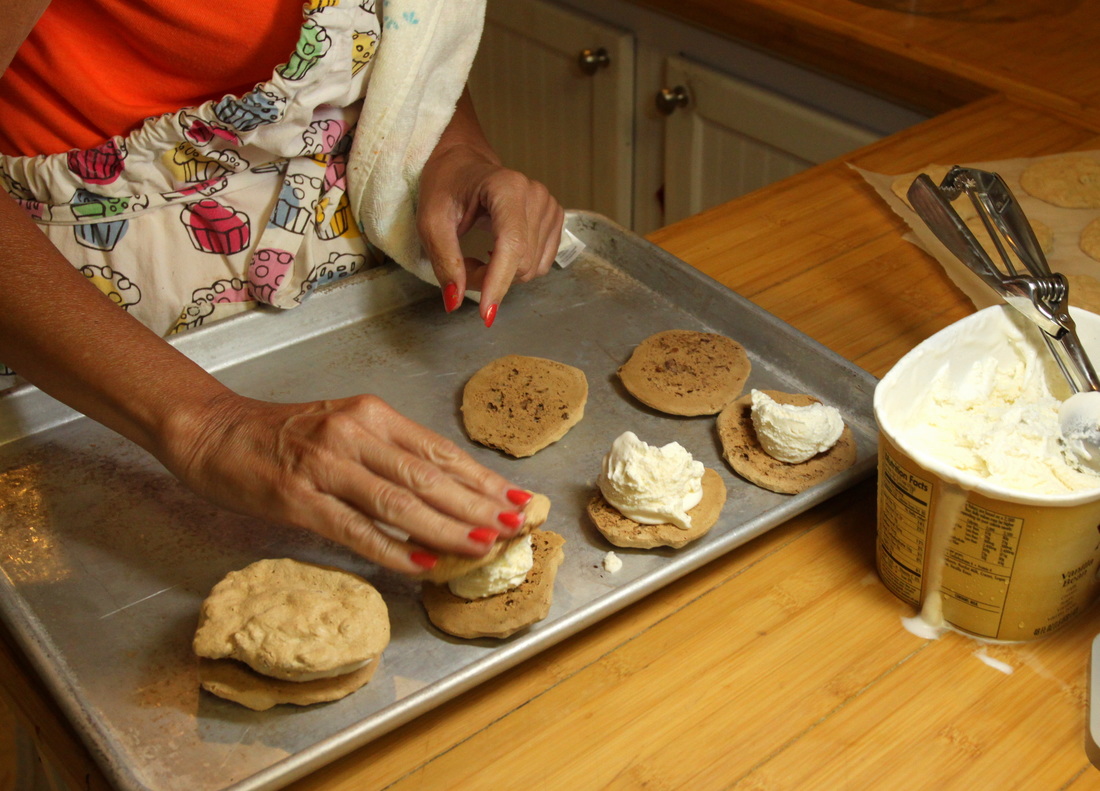
Sprinkling the crumb topping over the berries.  Couldn't be easier!
Picture
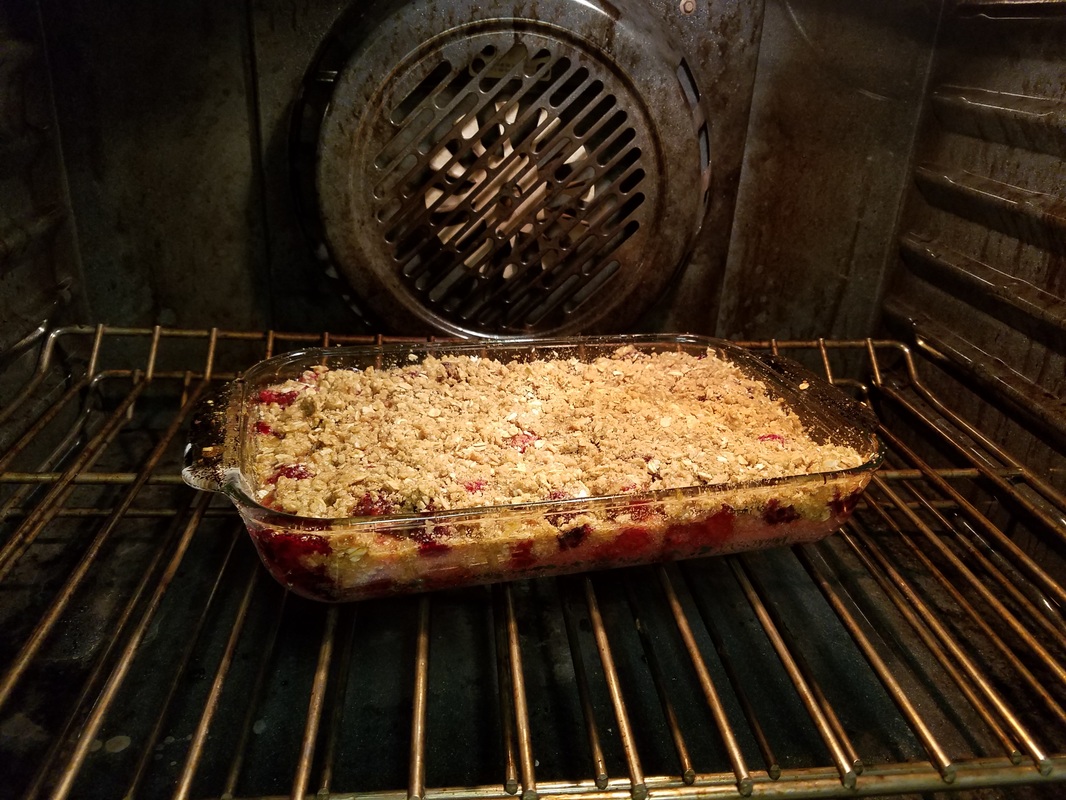
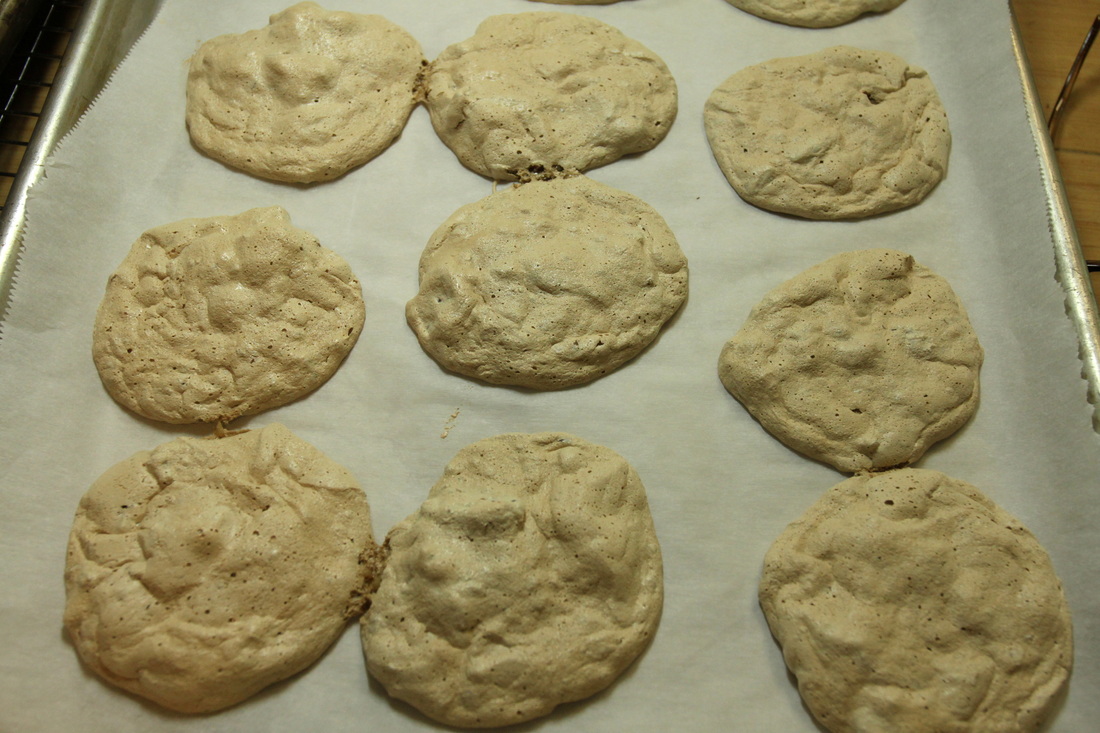
Halfway through baking.  And look!  My Artful Oven now features a convection fan!  It's great for roasting, but I am hesitant to use it for my baking.
Picture
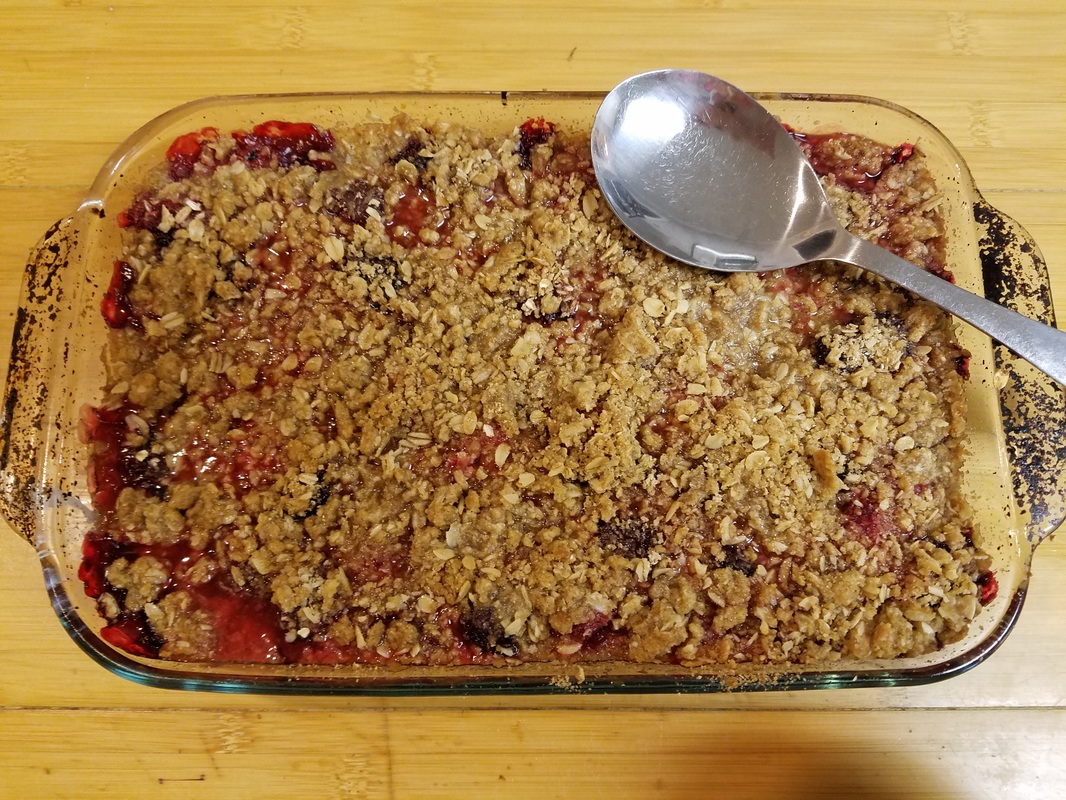
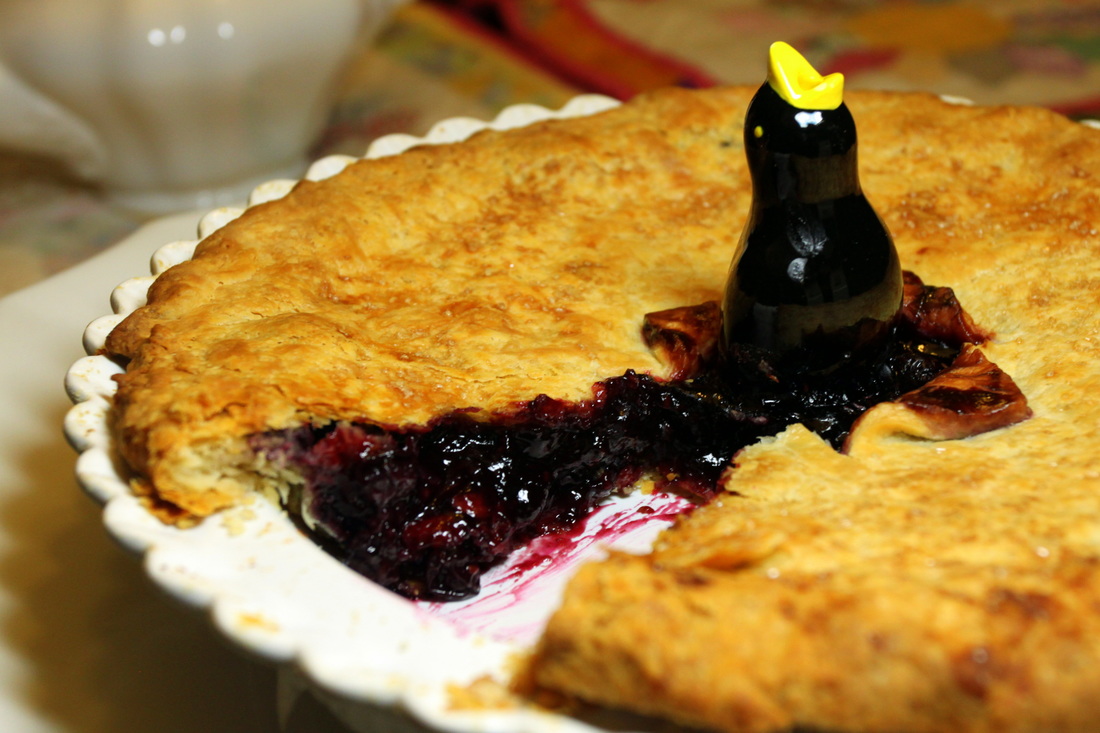
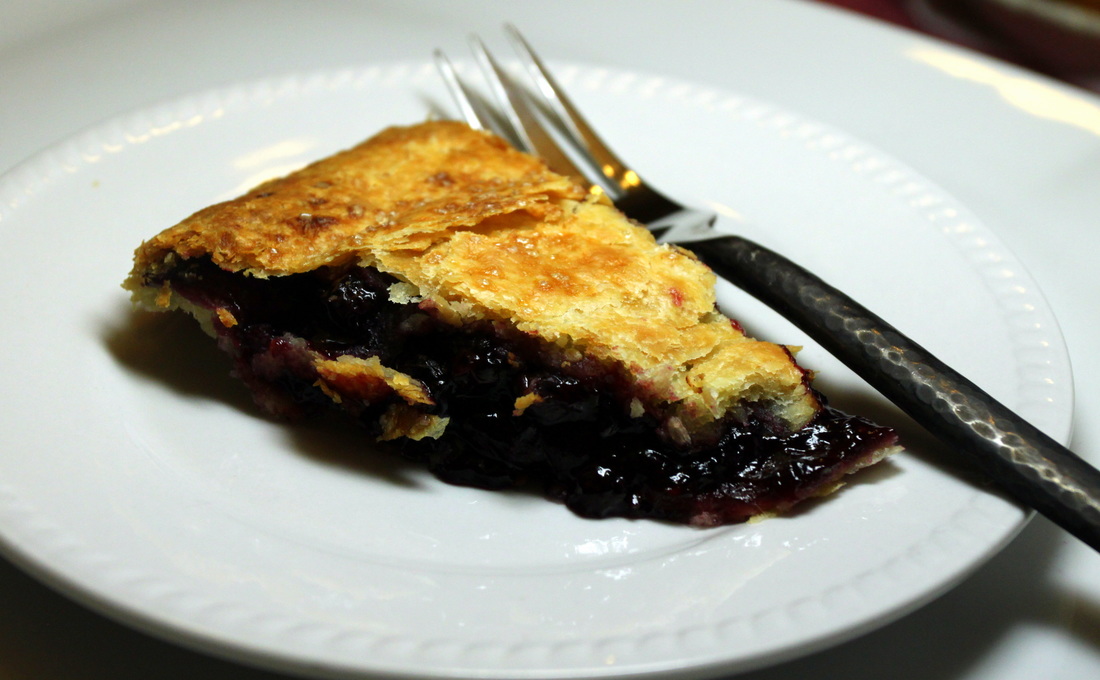
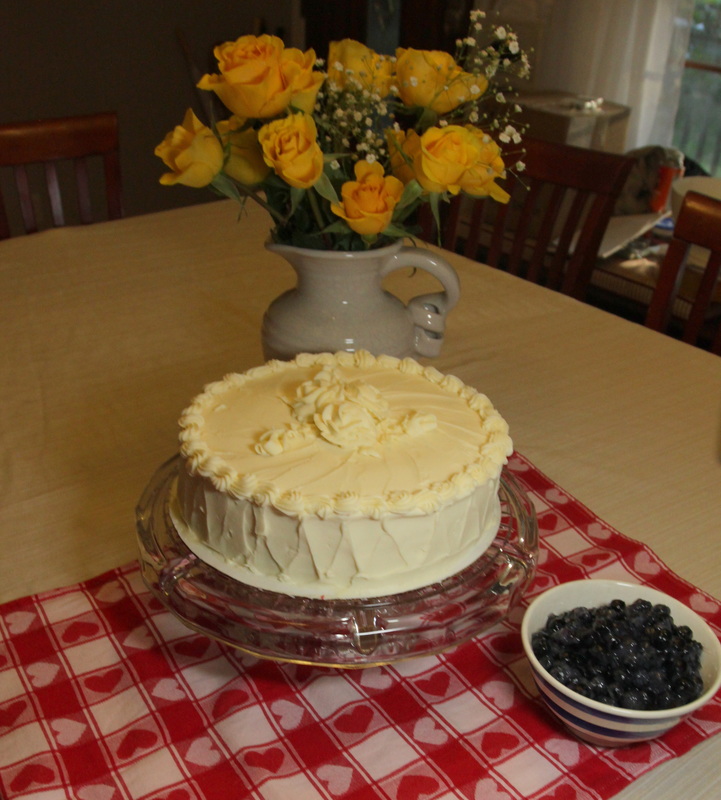
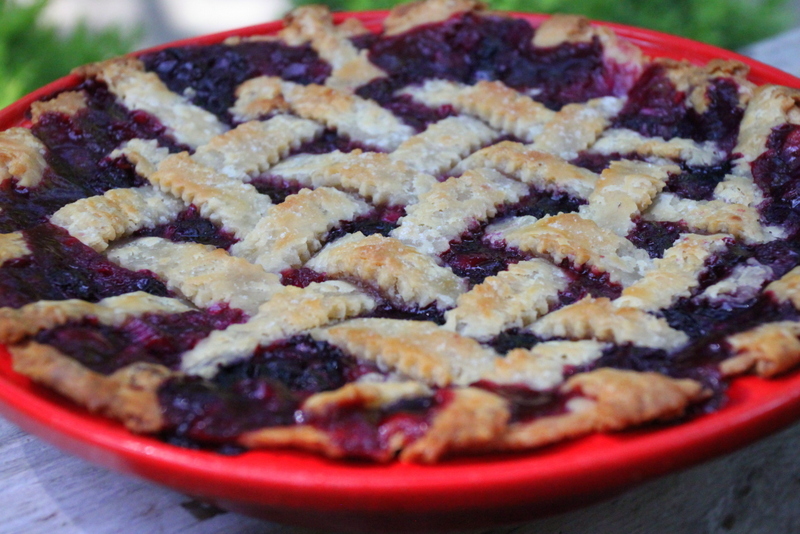
The kitchen smells like summertime!  It was simply delicious, but the juices didn't thicken as much as I would have liked.  Rose's notes called for a reduction in the amount of cornstarch when using the Blu-Rhu filling for this recipe, and of course, I also used raspberries, which may have contributed even more juice.  If I make it again with something other than gooseberries, I won't reduce the amount of cornstarch.  But juicy or not--it was a winner!  
Thank you so much for visiting and commenting on my blog!  I so appreciate your support!
3 Comments

Jacked Rabbit Cookies: Pepparkakors from The Baking Bible

9/17/2015

7 Comments

 
My beloved Mom-in-law, Sharon, used to make molasses sugar cookies for her children.  Smitty called them Rabbit Cookies because she used Brer Rabbit molasses and there was a picture of the rabbit himself on the bottle.  We still refer to molasses cookies as Rabbit Cookies.

This week's baking assignment was a cookie that hails from Norway called Pepparkakors.  To my American eye, the name looks like the kind of thing that IKEA would put on a shelving unit, but the cookies are GREAT!

The recipe includes black pepper.  However, the variation includes cayenne pepper for even more kick.  I loved that idea, so I made both kinds.  


Smitty calls these "jacked rabbit cookies" because of the pepper.  There are no eggs in this recipe, and the cookies stay nice and flat, unlike regular molasses cookies.  


Next time I am with Sharon, I am going to give her some of these new rabbit cookies. She is going to LOVE them!

Picture
Here are the dry ingredients for the Hot Nick Pepparkakors.  Ginger, cloves, black pepper and cayenne provide a delightful punch.
Picture
Rose's recipe called for Grandma's light molasses, but I can only find regular Grandma's molasses.  


If you are still using volume measurements, by the way, please consider switching to a scale!  It is so much faster, easier and more accurate to weigh your ingredients than to use measuring cups!  Note that this glass cup is sitting on my scale and that I am weighing the molasses.
Picture
The completed dough is wrapped in plastic, ready for the fridge.  It needs to be thoroughly chilled before the next step.

Picture
The dough is divided, rolled into logs, wrapped in plastic wrap and stuffed into cardboard tubes or PVC pipes. I had two batches of dough, one of the regular recipe and one of the Hot Nick variation.  It was easy to keep track of which was which--regular in the cardboard tubes, hot was in the PVC.
Picture
The frozen dough is allowed to defrost slightly, and then sliced into thin wafers.  The tubes kept them in amazingly good shape.  
Picture
Before baking, the cookies are sprinkled with Demarara sugar, another of those specialty ingredients that I have  discovered, thanks to baking with Rose! The complexity of flavor is amazing.  

I sprinkled the Hot Nick cookies with a combination of Demarara sugar and cayenne pepper.
 
Picture
Rose suggested spreading the Pepparkakors with goat cheese.  Here is some plain chevre sprinkled with fresh ground pepper.  You can see the cayenne on these cookies!  

The bottom line:  

These are GREAT!  Smitty is right, these are jacked up rabbit cookies!  We love both variations, but the hot pepper ones are my favorite.  I took the precaution of hiding them away in the freezer lest we nibble them all away.  I want to keep them handy for guests.

These will go on the top of my favorites list from The Baking Bible!  


NEXT UP:  Honey Cake


Thank you so much for visiting my blog and leaving comments!
7 Comments

Apple nostalgia and a luscious pie

9/11/2015

3 Comments

 
Rose's Luscious Apple Pie from The Baking Bible is the latest undertaking by the Alpha Bakers, and it is aptly named!  

First, a note about the nostalgia.

About 18 years ago, I entered a baking contest at a local kitchenware shop.  I didn't win, but I got a one-time discount at the store and purchased an apple peeling-coring-slicing machine.  Back then, it was a relatively new gadget, and it was an expensive purchase for a stay-at-home mother.


While in elementary school, our children celebrated Apple Week every year in October, and our apple machine made the classroom rounds.  Everyone got a chance to peel and slice a big crate of apples.  Afterwards, I took them home and made applesauce for the students to enjoy.  


We had a pet goat during those years.  In a nod to Smitty's love for high performance cars, we named him Turbo.  He was a little black and white Nigerian Dwarf, and he was a wonderful pet!    


Turbo ate bales of hay and kept the weeds under control in the back yard.  His favorite treat was fruit trimmings from the kitchen.  He could smell the strawberry tops, blackberry seeds and trimmings, and peach peels as I walked out to his pen and he would start bleating in excitement before I could even get the bucket under his nose!


I wish I had a photo of Turbo eating long, curly apple peels!  They hung like strings of spaghetti from his mouth, with his little rotary jaw working away on a big tangle of colorful peels.  Every time I peel apples I miss Turbo!


Picture
Smitty operating the apple machine with a Granny Smith apple. It starts...
Picture
Halfway done...
Picture
Peeled, cored and sliced in seconds. It took less than five minutes to process six pounds of apples. You can see what we used to call Turbo's (the goat!) spaghetti in Smitty's left hand! Now it just goes to the compost pile.
Picture
It felt crazy to be baking an apple pie without my daughter Jessica!  She is the celebrated apple pie baker in the family now.  She makes a day trip every year to pick apples at one of the many apple groves in our state's beautiful mountains.  Those apples become delicious pies, homemade applesauce and apple butter.  Jessica is an avid canner, and her pantry is full of homemade sauces and jams.  Can you tell how proud I am of my gifted daughter?

Several years ago I purchased a pricey bottle of boiled cider from King Arthur Flour Company.  It was delicious--a syrupy, concentrated consistency.  It made a big difference in our apple pies.  

When I ran out I wondered why I couldn't just boil my own apple cider instead of buying the expensive version.  Needless to say--I could, and I did, and have been doing it ever since.  

Rose uses fresh apple cider in her recipe, although not exactly in the same way I have done it.


Picture
Here the apples are tossed with a mixture of white and brown sugars, nutmeg and cinnamon.  I used a combination of two parts light brown sugar and one part dark Muscovado sugars, which is not exactly Rose's recommendation, but I used what I had on hand.  It tasted fantastic!  

The apples are allowed to macerate with the sugars and spices for up to three hours.

I wanted to try some of the apples Rose suggested in the recipe, but apple season really isn't upon us yet, so I turned to an old family favorite combination of half Granny Smith and half Golden Delicious apples. This combination makes a great pie and the apples are readily available.  


(Note--these photos show a double batch of the pie filling.)


I usually make double batches of pie fillings that freeze well, and I ALWAYS make more than one pie crust at a time.  I love having pastry and pie fillings handy in the freezer, so that I can put together a wonderful dessert in a relatively short time-- it makes me feel downright RICH!  

Picture
Next the apples are drained in a colander.  The released juices, along with the sugars, are reduced in the microwave to create a thicker filling.

Picture
The fruit is tossed with the reduced juices, and also with a thickened apple cider mixture before being turned into the pie shell.

As much as I love her cream cheese pastry, I am partial to Rose's Deluxe Flaky All Butter Pie Crust from the Pie and Pastry Bible.


Picture
Time was working against me, so I froze the unbaked pie overnight. 

Here it is, frozen solid, wearing its foil ring to prevent over browning, slashed and ready for the oven.

That bouquet of basil is from Jessica's garden, by the way.  It has nothing to do with this pie, but it's so beautiful I included it in the photo!


Picture
The pie baked in about an hour at 425.  The crust was crisp, the apples soft but not mushy and the fragrance of apples and warm spices intoxicating!

The verdict? 


I love this pie!  It's similar to Jessica's signature pie recipe, but I really like Rose's method of concentrating the juices to increase the complexity of the fruit flavor.  

I will definitely make it again and will share it with Jessica!   

And now, a tip from one cook to another:


I love my FoodSaver vacuum sealing freezer bags for storing all sorts of things! To freeze a juicy pie filling like this, pour the filling into a regular plastic bag and freeze it solid.  Then cut the plastic bag away and slide the frozen pie filling into a vacuum freezer bag and seal it.  


FoodSaver bags keep pastry discs fresh in the freezer.  I also freeze specialty flours, nuts, marzipan and pre-measured amounts of berries in FoodSaver bags for freshness.

I store my raisins and other dried fruits in vacuum sealed bags.  What a difference!  The fruits stay moist and supple far longer than in ordinary plastic bags.  


Thanks so much for visiting and commenting on my blog!


NEXT UP: PEPPARKAKOR Cookies


3 Comments

Walnut Whole Wheat Bread

8/3/2015

5 Comments

 
Homemade bread is always welcome, and this recipe showed lots of promise, infused with walnut oil and studded with walnuts.  In my enthusiasm for the recipe, I increased it to fit into my Pullman bread pan.   

Oh, how I hate math!  Good thing Smitty was home, as I would have guestimated how much to increase the recipe.  Smitty made me do it right.  I poured water into a standard loaf pan and weighed it.  Then I poured water into the Pullman pan and weighed it.  The Pullman pan held 2.44 times more than the standard loaf pan.  So I increased the dough ingredients by 2.44.  

I got the proportions correct, but this recipe didn't work well in this pan, as you will see in my finished bread.

Picture
The dough is mixed and then left to rest for 20 minutes.  It is "live" and puffy at this stage.  You can tell, this is a VERY big batch of dough, even for my 6-quart Kitchenaid mixer.

Picture
Picture
Before and after the first rise!  I wasn't expecting it to rise so much in just an hour.
Picture
This dough is fragrant with walnut oil and yeast and chunky with walnuts.
Picture
Starting to shape the loaf.  The Pullman loaf pan is behind the dough.
Picture
I was helped greatly to roll and lift this large loaf by my nice new oak bread flipping board!  
Smitty made it for me and it's just under the front edge of the loaf in this photo.  
Picture
The dough has risen above the rim of the pan.  Rose's bread recipes frequently call for a handful of ice cubes to be added to a hot pan in the bottom of the oven just as the oven door is closed.  This creates steam in the oven.
Picture
My bread crust is leathery and way too tough--all the way around, as you can see from the photo.  It took so long for the interior to cook on this oversized loaf that the crust got overdone.  I used an instant read thermometer to measure doneness, and it's good thing I had it.  However, the bread is delicious, once you slice through the crust.
Picture
Thinly sliced, lightly toasted and served with shaved Gruyere and crumbled blue cheese, the bread is delicious!

Next time, I won't use the Pullman pan!!  

I love the crunch of the walnuts and the soft wheat taste.  


NEXT UP: PERFECT PEACH GALETTE


Thanks so much for visiting and commenting!

5 Comments

An epic in pastry: ElderBlueberry Pie

7/29/2015

10 Comments

 
First thing--a shout-out and big thanks to Ann at Norm's Farm in Pittsoboro, NC for providing me with with elderberries for this week's baking assignment!  I had all but given up on finding them.  Then my husband Smitty googled "elderberries Durham NC" and discovered Norm's Farm, in nearby Pittsboro.  

A note to readers from Norm's Farm:  Rose's Alpha Bakers are a worldwide group of mostly home bakers who are baking every recipe in The Baking Bible, the latest cookbook by Rose Levy Beranbaum.  We don't share the recipes online because they are copyrighted material.  If you like what you see, please pick up your own copy of the book!  You won't regret it! It's available on Amazon or hopefully at your local bookstore.   

On this post you will see that I refer to "Rose--" the author. She is graciously participating in our bake along by making herself available for questions and comments.  We all feel as though she has become a special friend! 

The recipe calls for Rose's favorite Perfect Flaky and Tender Cream Cheese Pie Crust.  I love that crust and do use it, but admit that I am partial to her all butter Deluxe Flaky Pie Crust from the Pie and Pastry Bible, so that's what I used for the ElderBlueberry Pie.

Rose has kindly posted one version of her Cream Cheese pie crust recipe online:  http://www.realbakingwithrose.com/2014/11/roses_favorite_flaky_tender_pi.html#.Vblkf_lViko


Lately I've been dissatisfied with my pastry.  It was time to go back to the drawing board and re-learn the basics.  I was inspired by my fellow Alpha Baker Kim to make my pie crusts by hand.  Actually, I settled on a hybrid method of using Rose's food processor method and then working the dough by hand.  

Because lately my dough has seemed too dry and wouldn't come together well, I consulted the Pie and Pastry Bible.  Rose says this is because the flour particles haven't been "moisture-proofed" enough--they haven't been adequately coated with fat.

I found it so much easier to shepherd the errant crumbs and smear them with flakes of butter using the heel of my hand than I did using Rose's plastic bag method.  This method worked great!

Thanks, Kim, for the inspiration!  
Stop by and see Kim at work at her beautiful blog, The Finer Cookie--

The Finer Cookie
Picture
It's coming together now!  (10:00AM)

Picture
The dough has been divided into two pieces for the top and bottom crusts.

Before this step, I rolled it gently into a rectangle and gave it a "business letter turn," which means folding the dough in thirds just like you would a sheet of paper to slip into an envelope.  This step adds to the flakiness of the finished pastry.  Divine!
Picture
This is the one drawback to the hand method--I really hate the feeling of dough under my long fingernails.  This is a selfie, BTW.  
Picture
After chilling, the dough is rolled out on my pastry sheet.  It's trimmed to size and transferred to the pie plate.  Then the pastry shell is chilled thoroughly before it's filled and baked.  See those scraps on the edges?  NEVER discard those!  Freeze them and before long you will have enough for another pie shell.  (See page 15 , Pie and Pastry Bible)  


I make pie crusts in multiples.  I made six butter pie crusts and one Miracle Flaky Lard Pie Crust (Pie and Pastry Bible), all with my newfound hybrid food processor-hand method.  I froze the extra crusts, refrigerated the dough for "today's" pie (I thought) (and cleaned up the kitchen for the first time.  
Now I turn back to the elderberries.  (7:00 PM)

I met up with Ann from Norm's Farm a few days ago and she gave me bags of frozen elderberries.  You've heard me say it before, but I simply love the way I meet new people with my baking!  

Norm's Farm is simply amazing!  It's a family farm that supplies elderberry jam, jelly and wellness products to retailers all over the country.  Look for them on Amazon or check out their website here:


Norm's Farm
Picture
Aren't they beautiful?  As purple as Concord grapes, elderberries are the size of peppercorns.  They are still frozen in this photo.  

Ann told me to knock the bag around to remove the stems, and she was right, the stems came right off...mostly.  I was left with a bowl of gorgeous berries, and so many tiny stems I didn't know what to do.  Did I not knock the bag enough?  


Picture
They are defrosted at this point.  Ann had impressed upon me that the berries are extremely perishable. I needed to fill that entire measuring cup to make this recipe!  That's a pair of tweezers in my hand as I attempted to remove the many tiny stems mixed up with the dainty berries.  I had been at this for more than an hour at this point.   (9:00 pm)


Picture
Finally I realized it simply wasn't possible.  


By 10:30pm I was out of ideas.  I hated to lose the texture of the berries, but I put them through the finest screen on my trusty food mill.  I got a thick juice and this was what was left--dry skins, seeds and although you can't see them--STEMS galore.  


Just to be on the safe side I poured the juice through a fine mesh strain--it was free of debris. 

  • (A quick side note: I always feel a touch of nostalgia for our little Nigerian dwarf goat, Turbo, who would go crazy when he saw me coming toward his pen with berry trimmings! Oh, how I miss him whenever I have a big bunch of this kind of stuff!  We raised him when our children were in elementary school.  Jessica and Dustin had shirts that read "No Kidding, Goats Are Great!"  Those were happy days!)


My kitchen looked like an elderberry crime scene.  Note the fridge handle.  The elderberry signature was everywhere--on my clothing, apron, fingers, nails, countertops, sink.
Picture

The pie filling recipe calls for equal parts elderberries and blueberries.  A slurry of water and corn starch is boiled with sugar.  When the mixture thickens, the berries are folded in.  A final splash of lemon juice is added to brighten the flavors and the filling is cooled before being poured into the chilled pie shell.  

My pie filling, now devoid of the elderberry pulp and seeds, was impossibly liquid and the volume was significantly reduced. 

Worst of all...it tasted like weeds.  What to do??  Should I waste one of my favorite, labor intensive butter pie crusts on a weed pie??  A couple of the Alpha Bakers weighed in and said NO.  I was inclined to agree.  I went to bed exhausted.  


DAY TWO  10:00 AM

But Rose....would she steer me wrong?  Her description of elderberries was "hauntingly unique."   I didn't want to miss out, so I decided to trust her about the weedy berries and find a way.   

I had to completely rework the recipe to account for the fact that I was using elderberry juice instead of the whole berries.  As I often say, I am a Girl Scout.  I would make it happen somehow!

The two big problems:  
  • I needed more filling.  
  • I needed to thicken the filling that I had.  

Fortunately, I had more elderberries and more blueberries on hand. 

Picture
First I "juiced" the rest of Ann's berries.  I strained the blueberries from my liquid pie filling and added the new elderberry juice to it.  

I whisked several teaspoons full of cornstarch into the mixture and added a couple of tablespoons of sugar, taking a conservative guess at how much would be needed to balance out the addition of the extra berries.  I tasted the weed mixture to see if it was appropriately sweet and it seemed to be okay.  

I was concerned that exposing the mixture to more direct heat would degrade the fruit juice, since most of it had already been boiled the day before.  I left it in the heatproof cup and microwaved it instead for about two minutes. 

Miracle!!  


The fragrance of elderberries when I opened the microwave was... irresistible.  I tasted the mixture. An unusual flavor, fruity and floral with a slightly earthy undertone, and not a trace of weediness!!  As the juice cooked, the berry's flavor had finally emerged.  Another minute in the microwave and it was perfectly thickened.

Because I would be relying on the blueberries for texture, I folded the extra blueberries into the mixture after it had finished thickening.   I didn't want them to soften too much. 

Picture
Oh, if only you could smell it!!  No more weedy flavor!
Picture
Here's the smooth, dark filling as it goes into my favorite all butter pie shell. 
Picture
Here is a shot of the pie before baking.  For extra crunch I like to sprinkle a little turbinado sugar on the top crust.  I am using my little ceramic pie bird handmade by my former sister in law, Denise Turnley, circa 1992.  Isn't it perfect?  Although he is supposed to represent a blackbird, I call him Magpie.  Into the fridge to chill. (4:00PM)
Picture
The aroma!  The perfect flow of the juicy berry filling!  The perfect, flaky, crisp butter crust!  You can almost hear my little Magpie singing. Is there anything as simply joyful as a summer fruit pie?
Picture
This pie is delicious, the elderberries are memorable and completely unlike any other berry. 
(9:00 PM)


But the real question....would I make this recipe again?

Reluctantly, I have to say no--not unless I can find a better way to clean the elderberries. Perhaps it is significantly easier to handle the fresh berries than it is the frozen berries. 

However, I am VERY interested in growing my own elderberry bush!  I really do love this flavor, and even if all I can get is the strained juice to make jam or jelly, I would like to grow these berries in my yard.  Fortunately, Norm's Farm sells bushes and even cuttings to make this easy, so hopefully this isn't the last elderberry experiment in my kitchen.


Again, my sincere thanks to the good folks at Norm's Farms in Pittsboro, NC for the berries!  


NEXT UP: 100% Whole Wheat Walnut Loaf

I sincerely appreciate visitors and comments on my blog!
10 Comments

"Kourambiethes"--Greek (or it GREED?) almond cookies

7/23/2015

5 Comments

 
"I am a fool for explosively light, crunchy with nuts and powdery with sugar coating cookies with a lingering taste of butter."  
--Rose Levy Beranbaum
As you know, I am a member of a worldwide group baking through the latest cookbook by my favorite author, Rose Levy Beranbaum.  The book is entitled The Baking Bible, and the group is Rose's Alpha Bakers.  We started this two-year project in December 2014.  

It is such fun sharing the weekly progress with this diverse group of bakers, learning from one another, and I find so much in common with them...most of the time.

Then one (or more) of them will do something so crazy, so completely off the wall that I find myself saying, "what's WRONG with these people?!"

For example, two of the Alpha Bakers reported that they
gave away
this week's cookies because they were so good they didn't want them in the house!  WHAT?!  My world tilts off its axis when I hear things like this!!   

Usually, baking inspires a certain generosity in me.  I love having freshly baked goods to share....most of the time. 

Then there are recipes like this one.  Oh, the delicious treasure that we uncovered this week!  Cloaked in powdered sugar, kourambiethes are the Greek counterparts to Mexican wedding cakes and Portuguese snowball cookies.  

Unlike my CRAZY fellow bakers, I become greedy and reluctant to share.  Excuses spring to mind. "He probably doesn't even like almonds."  "I think I heard her say she's watching her cholesterol." "I just gave them something last week."   Yes, friends, if the ones who want the cookies out of the house are crazy, then this is the soundtrack of sanity!  


So add these cookies to the list of baked goods that tempt me to one of the deadly sins.  They are that delicious.


Picture
I made a double batch of cookies, so this is two pounds of clarified butter that has been chilled until solid and then unmolded onto a cutting board.  Incidentally, per Rose's suggestion, I saved the milk solids that I strained out of the clarified butter and added them to a batch of bread dough.  Delicious!

Picture
The butter is then cut into pieces.  Doesn't this look like Yukon gold potatoes?  

Picture
The butter is beaten with powdered sugar and in ten minutes it resembles a batch of stiffly whipped cream. Remarkable transformation!
Picture
The rest of the ingredients are added to the butter mixture.  Toasted chopped almonds are the most flavorful ingredient.  The dough is chilled before being shaped.   
Picture
Out of the oven, they are cooled on a rack and dusted heavily with powdered sugar.  They keep for a month at room temperature in an airtight container (yeah, right!  A couple of days, at the most!)  I wonder if the Tupperware container will fit into our little safe?!   Can't be too careful with these...
Kourambiethes--pronounced "koo-rum-BYEH-bthess"

Make thine own, dear reader, because I'm hoarding them!  


NEXT UP: ElderBlueberry Pie with berries from Norm's Farms in Pittsboro, NC!


Thanks so much for visiting and commenting on my blog!


5 Comments

Molasses Crumb Cakeletes 

7/17/2015

4 Comments

 
I am late posting this update, but this week the Alpha Bakers tackled Rose's Molasses Crumb Cakelets.   Several of the Bakers didn't like the strong taste of molasses in this recipe, but I loved it!  This is such a quick and easy recipe and they were delicious!

  • Are they muffins?  Are they cupcakes?   Both.
  • The molasses taste really dominates because there are no other spices to compete with.
  • What's unusual about this recipe?  No eggs and no dairy ingredients.  


I didn't take many photos, but here they are:


Picture
The flour, sugar and oil mixture that comprises most of the batter is also what makes up the crumb topping. Some of the mixture is reserved for the topping, and the rest is combined with the molasses and remaining ingredients to make up the thin batter.

Picture
The crumbs are sprinkled on before baking.  I had no problem removing these from the mini-muffin pans afterwards, although some of the other Alpha Bakers did.

Picture
They baked up quickly and released easily.  I thought about baking them in larger muffin cups but they are so rich I am glad they were bite sized.


However, several of the Alpha Bakers preferred the texture when they were baked in larger sizes, including a loaf pan.  I will try that next time, because I really like this recipe!


They are delicious reheated and spread with butter, as Rose recommends in her recipe notes.  They make a wonderful breakfast treat.  I could easily see this recipe as an addition to brunch, since it is so quickly executed.  So many of her recipes are too involved to be practical for brunch without rising in the wee hours!  


With no dairy ingredients and no eggs, they are the only vegan recipe in her book.  


These cakelets are exceptionally moist and kept well for several days at room temperature in a sealed container.   Another great recipe!  
4 Comments

July 4 Cheesecake--Happiness in red, white and blue!

7/5/2015

7 Comments

 
Here's a theme dessert for the holiday, and it's one of the best so far.  (How many times have I said this in that last six months?!)  

The Baking Bible includes five cheesecakes.  We baked the Stilton Baby Blue Cheesecakes and now this one...I can't wait to make the others!  


Picture
First, there's a red velvet cake baked in a 10-inch cake pan.  It will be a thin layer cake for the base of the cheesecake.


Picture
Here's the cheesecake batter in the springform cake pan, which is set inside a 10-inch cake pan.  Then the two pans are placed in a large ovenproof skillet.  The skillet is filled with an inch of boiling water before the pans are put into the oven.  

Rose recommends either a silicone pan larger than the springform pan, or a double layer of aluminum foil to prevent water seeping into the cheesecake.  I used the 10-inch cake pan and it worked great!


Picture
The red velvet layer is trimmed down to size with a razor blade--the single most annoying step in the whole process.  Both are cooled and ready to be composed.  Not sure how that little divot got into the red velvet cake!
Picture
The instructions in the book for stacking the two layers were elaborate and somewhat confusing.  I opted instead to use a cardboard cake round to flip the cheesecake and red velvet layers into position.  The cheesecake was a little bit off center but couldn't be adjusted because the red velvet was too fragile.  Oh well.

A raspberry jam glaze is used to seal the crumbs of the red velvet layer.  I was surprised at how well it worked.
Picture
I iced the cake with the Dreamy Creamy White Icing.  A few reverse shells here, a couple of roses there....


Picture
I opted to keep the fresh blueberry topping separate so that the cake would last a little longer.  As it turns out, there was no need to worry--the cake was destined to be eaten in short order anyway!
Picture
A brief moment before we sliced into it...

Picture
And here's the finished cake with blueberries on the side.  Superb!!

I had to thicken the sugar syrup for the blueberry topping in the microwave instead on the stovetop and it was a bit too thick to drain off the berries.  Hence the little blobs of thickened syrup in the photos.   

(My cooktop isn't working at the moment.  Smitty bought me a Viking professional 6-burner cooktop and we are waiting for the gas company to turn it on...)

Anyway, this recipe was not difficult, but there were many steps due to the several components--red velvet cake base, raspberry glaze, cheesecake, icing and blueberry topping.  

I note that Rose calls this her "basic" cheesecake filling that can be used with a variety of crusts and toppings. As I've said before, what she calls "basic," I call exceptional!   The cheesecake is light and fluffy, rich but just sweet enough.  


This recipe was a real treat!  I am so glad I made all of the components because it turned out so well.  


Please come back next week, because we will be baking Molasses Crumb Cakelets and they look irresistible!


Thanks so much for visiting my blog and leaving your comments!  


P.S. A new round of Wilton cake decorating classes starts this week!  Come and join me!  See July's schedule on the Wilton Method classes tab at the top of this page!


7 Comments

Praline Pecan Meringue Ice Cream Sandwiches

7/1/2015

8 Comments

 
When I started baking with Rose's Alpha Bakers I knew that I would quickly deplete my supply of superlatives for the recipes in The Baking Bible.  And here we are just seven months into a two-year project, I am bereft of a word to describe these delights!  

The cookie batter is simplicity itself--just egg whites whipped long and high with brown sugar.  The meringue inflates into a thick, light paste that's stable and putty colored.  There's a copious amount of toasted pecan halves in the recipe.  Half of them are chopped and then they are all folded into the the meringue.  That's right--just three ingredients in the cookie batter.

Picture
Picture
The batter is scooped onto parchment-lined cookie sheets and then spread into little patty shapes with an offset spatula.  Mine weren't the tidiest little discs.
Picture
Out of the oven, they resemble little mud cakes.  Mine didn't acquire the cracks that Rose describes in the recipe.  I used my ever reliable Thermapen to determine if they were done.  
Picture
Scoops of vanilla ice cream are sandwiched between two cookies.  Note the way softened ice cream is drooling over the side of the carton.  It was the harbinger of much more drooling to come.

Picture
The ice cream sandwiches are drizzled with Rose Blend Special Ganache.  The ice cream seemed to never get firm once I got it between the cookies.   The ice cream drooled out of the cookies, the chocolate drooled over the top, and then by this time I was drooling to taste them! 
Picture
Wrapping individual ice cream sandwiches.  They didn't look very pretty once they were unwrapped, but no one seemed to mind!  They are so delicious, these are going to be a summer favorite.  They are very easy to make and simply wonderful to eat.  
I made one and a half batches of this recipe and only got 23 ice cream sandwiches from the recipe.  I used the recommended size scoop but it must have been overfilled.   

If you are new to my blog, the Alpha Bakers are a group of bakers who are baking through the latest cookbook by Rose Levy Beranbaum.   The book is entitled The Baking Bible, and I have been baking her recipes for so long, I hardly know how to turn on the oven without opening one of Rose's books!  


Please join me next week for a recipe I'm really excited about--Fourth of July Cheesecake!  
It's got a red velvet cake base, white cheesecake and a blueberry topping.  It looks heavenly, and I've been looking forward to it since I first opened the book.


I really appreciate you visiting and commenting on my blog!


8 Comments

Blue-barb pie:  from timid eater to true believer

5/5/2015

7 Comments

 
Rose's title for this week's recipe is Blu-Rhu Pie, and her recipe specifies her wonderful cream cheese pie crust.  

I already had a batch of her Deluxe Pastry Crust in the freezer, so I used that instead. Smitty dubbed this pie Blue-barb, so that's our unofficial name for this outstanding dessert.

The wallpaper stripping and painting in my kitchen is in its final stages, so I trust I am forgiven for posting just one photo.  I am only able to work in a small area at a time while the upheaval goes on.  

Several of my fellow Alpha Bakers shared my trepidation about the rhubarb in this recipe.  I have never been a big fan, but now I realize that I had never tasted rhubarb at its best!  I am so glad that I didn't leave it out of the recipe, which was a temptation, since a couple of the Alpha Bakers even commented that they couldn't taste it in the finished pie.  
Picture

As a rhubarb rookie, I didn't really know what I was doing...

One Alpha Baker advised peeling the rhubarb to eliminate stringiness.  I peeled one stalk but then as I chopped it up I realized that rhubarb seems to be nothing BUT strings, so I didn't peel the rest of it.  Glad I didn't--the color is superb.  


And the end result is a pie that is perfectly tart and sweet, bursting with fruit and surrounded by Rose's flaky pie crust.  Although I love blueberries, I am not a big fan of blueberry pie.  Somehow, I  never seem to like it when the blueberries stand alone.  This combination is a winner!


My tidy lattice strips were obscured somewhat by the bubbling hot filling. I love her trick of placing the pie dish on a pre-heated baking stone or steel in the oven, which allows the bottom crust to get crisp.  That's a big improvement over soggy bottom crusts. 


In the future, I will increase the amount of filling because the crust could have held at least another few ounces. 


Smitty, who was a rhubarb rebel, and almost refused to taste the pie until I begged, is a total convert, thanks to this recipe!  I shared this pie with friends who declared it the best one yet!


Hopefully the kitchen painting will be finished by next week.

Thanks so much for stopping by!


UP NEXT: CATCH UP WEEK
7 Comments
<<Previous

    Archives

    August 2016
    September 2015
    August 2015
    July 2015
    May 2015
    April 2015
    March 2015
    February 2015
    January 2015
    December 2014

    Categories

    All

    RSS Feed

    Rose's blog HERE
    Rose's Alpha Bakers HERE
    Picture
Powered by Create your own unique website with customizable templates.